Have you ever wondered what are the different finishes for wood? Do you know which one is right for your project? If you’re not sure, then this guide is for you!
Wood finishing is a major source of frustration for many woodworkers. With so many different products on the market, it can be hard to know which one is right for your project. They all have advantages and disadvantages, so choosing the right one for your project is important.
In this article, we’ll look at the different finishes for wood, their advantages and disadvantages, and what projects they’re best suited for. By the end, you should better understand which finish is right for your next project!
THE DIFFERENT FINISHES FOR WOOD
Each finish has its own unique properties that make it more or less suited for different projects. Here’s a quick overview of the most common wood finishes:
1. VARNISH
Varnish is created from synthetic resins that are robust and long-lasting, and are then treated with drying oils to make them more effective. Varnishes contain tung and linseed oils, as well as other semi-drying oils like soybean and safflower, and resins like alkyd, phenolic, and urethane, according to the labels on the cans.
Varnish dries by the same process as genuine oils – polymerization – however, the resins make this finish more resilient than oil. In reality, the oil-based varnish is the most long-lasting finish that the typical carpenter can apply with relative ease. Varnish outperforms most other coatings in its resistance to water, solvents, heat, and other substances.
Those varnishes with a high oil content are known as long-oil varnishes. Some retail outlets also stock interior varnishes that mimic the look of the marine, spar, or external varnishes. The main advantage of these products is that they’re much simpler to apply than their exterior counterparts.
While they’re also more water resistant, they don’t achieve the same levels of protection as marine-grade finishes.
Varnish is best suited for projects that will expose to a lot of wear and tear, or for those that need to be highly water resistant. Some examples include:
- Outdoor wood furniture
- Boats and marine equipment
- Flooring
2. SHELLAC
Shellac is a resin produced by the female lac insect. It’s combined with alcohol to make a liquid that you may apply to wood.
Once it dries, it creates a hard, protective coating. Shellac has been used as a wood finish for centuries and is still a popular choice today.
One of the main advantages of shellac is that it’s very easy to apply. It also dries very quickly, so you don’t have to wait long before you can apply a second coat. Shellac is also very effective at sealing in odors, so it’s often used on interior trim and molding.
Shellac is best suited for projects that need to be sealed quickly or for those that will be exposed to a lot of wear and tear. Some examples include:
- Interior trim and molding
- Cabinets
- Wood Furniture
3. POLYURETHANE
Polyurethane is a synthetic resin that’s similar to varnish. It’s usually available in two forms: water-based polyurethane and oil based polyurethane.
Polyurethane is more durable than varnish, so it’s often used on floors and other surfaces with a lot of wear and tear. It’s also more resistant to heat and chemicals.
One of the main disadvantages of polyurethane is that it’s very difficult to apply. It also takes a long time to dry, so you must be patient when working with this finish. Polyurethane is also susceptible to yellowing over time, so it’s not the best choice for projects that need to look their best for a long time.
This type of finish is ideal for Cabinets, doors, wooden furniture, and floors.
4. LACQUER
Lacquer is a clear or colored finish made from resin, cellulose, and plasticizers. Furthermore, lacquer finish is typically applied in multiple thin coats, allowing it to build a thick layer of protection. This makes it an ideal choice for high-traffic areas or pieces that will be exposed to harsh conditions.
However, lacquer is also one of the more difficult finishes to apply evenly, and it can be susceptible to bubbling and wrinkling if not applied correctly. It is typically used on wood furniture, musical instruments, and other objects where a high-gloss finish is desired.
Lacquer is also used in some automotive applications. The main disadvantage of lacquer is that it can be difficult to repair once damaged.
5. WAX
Wax is a natural or synthetic finish made from either beeswax or carnauba wax. It’s usually mixed with other ingredients, such as oil or resin, to create a paste that you can apply to wood. Wax finish creates a protective coating that’s resistant to water and scratches.
One of the main advantages of wax is that it’s very easy to apply. It also doesn’t change the color of the wood, so it’s a good choice for projects that need to retain their natural appearance. Wax is also one of the more durable finishes, so it can last for years without needing to be reapplied.
It can be applied by hand or machine and dries to a hard, glossy finish. Wax is available in clear and tinted varieties and can be applied over paint or stain. Unlike other finishes, wax does not provide much protection against moisture or wear.
However, it does give wood a beautiful lustrous finish that highlights the grain and enhances the natural beauty of the wood. For these reasons, wax is an excellent choice for hardwood floor or furniture that you will use frequently or for pieces that you will display in a high-traffic area.
6. DYE
Dye is a concentrated solution of color that’s used to stain wood surface. Unlike paint, the dye penetrates the wood’s surface and changes the color of the wood itself. Dye is available in both water-based and oil-based formulas, and you can apply it with a brush, sprayer, or cloth.
Dye is typically used to create a uniform color on wood that has been stained or damaged. It’s also sometimes used to add color to wood that’s too light or too dark. Wood dye is available in many colors, so you can easily find a shade that matches your project.
7. PAINT
Paint is one of the most popular finishes for wood. It is available in many colors and can be applied to create a smooth, glossy finish. Paint is also durable and easy to maintain, making it an ideal choice for high-traffic areas such as kitchens and bathrooms.
However, paint can also be difficult to apply evenly, and it is important to select the right type of paint for the job. For instance, latex paint is ideal for walls, while oil-based paint is better suited for trim work.
Paint is typically used on walls, ceilings, and trim. You can also use it to create a variety of decorative effects. For example, paint can be distressed to create a rustic look or glazed to create a shiny finish.
8. STAIN
Wood stain is a pigmented finish that’s used to change the color of the wood. Unlike paint, stain penetrates the wood’s surface and changes the color of the wood itself. Stain consists of a pigment, binder, and carrier. The carrier aids in the penetration of the pigment into the surface while the binder holds it in place.
Stain is available in many colors, from light to dark. It can be applied with a brush, roller, or sprayer and dries to a matte finish. Stain is typically used on unfinished wood or on surfaces that have been sanded smooth. It’s also sometimes used to create a weathered look on new wood.
9. TRUE OILS
True oils are natural finishes that are made from plant-based ingredients. They penetrate deep into the wood, providing both protection and enhancement. True oils are available in a wide range of colors, so you can easily find a shade that matches your project.
There’s a reason they’re called “true oils” – to distinguish them from items promoted as oil finishes but aren’t, or semi-drying and non drying oils like soybean. The ingredients in true oils are mostly triglycerides, esters of three fatty acids, and glycerin.
In polymerization (curing), these components cross-link to dry and harden on the surface. On the other hand, soybean oil is a polyunsaturated vegetable oil that will never fully cure. As such, it should not be used as a wood finish.
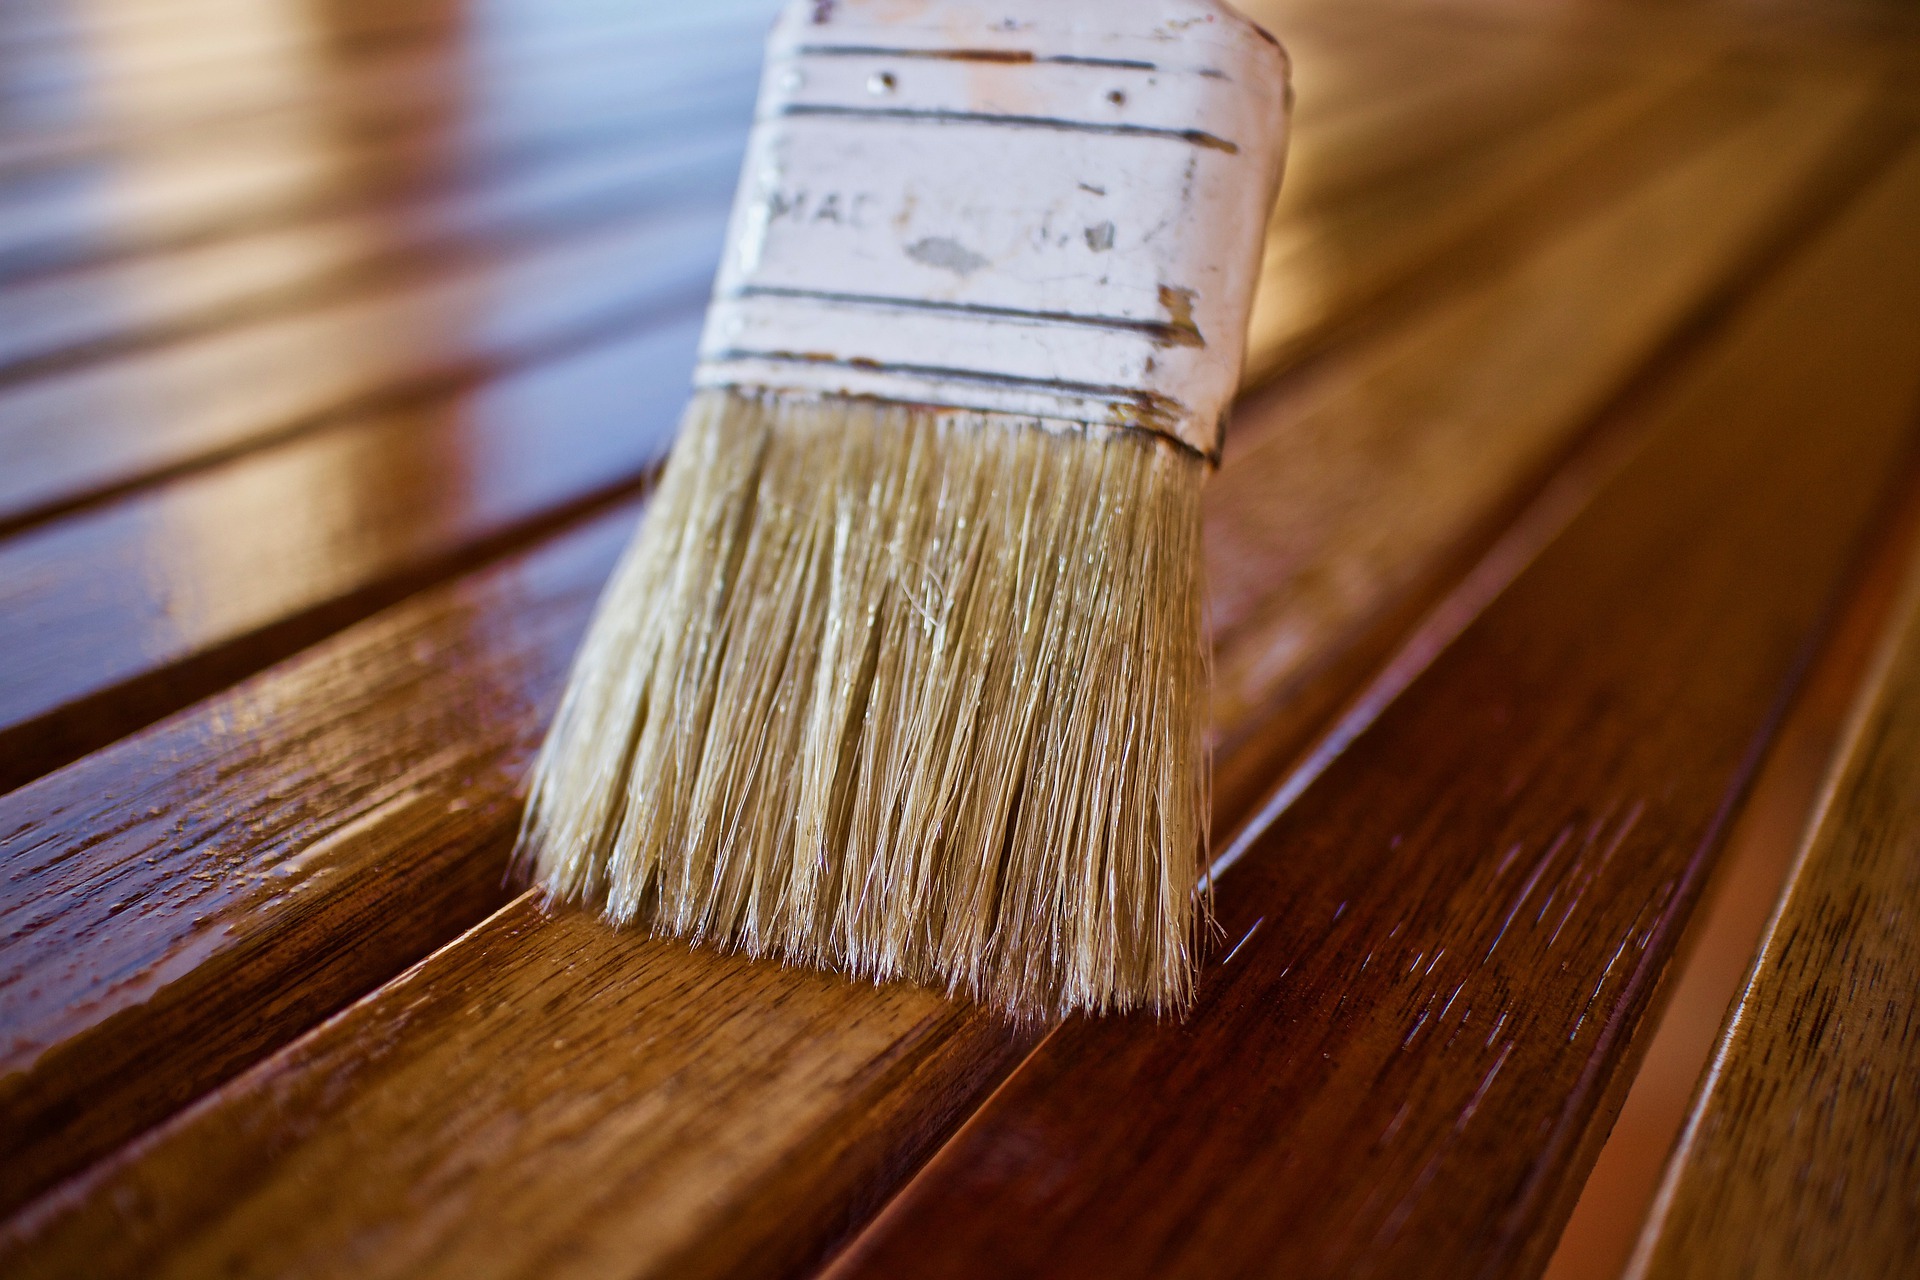
Some true popular oils include tung oil, linseed oil, and teak oil. These oils are applied with a brush or cloth and then allowed to penetrate the wood for several hours or even days. Once the oil finish has penetrated the wood, any excess is wiped away.
Guide to the Different Finishes for Wood: Factors to Consider When Choosing a Finish
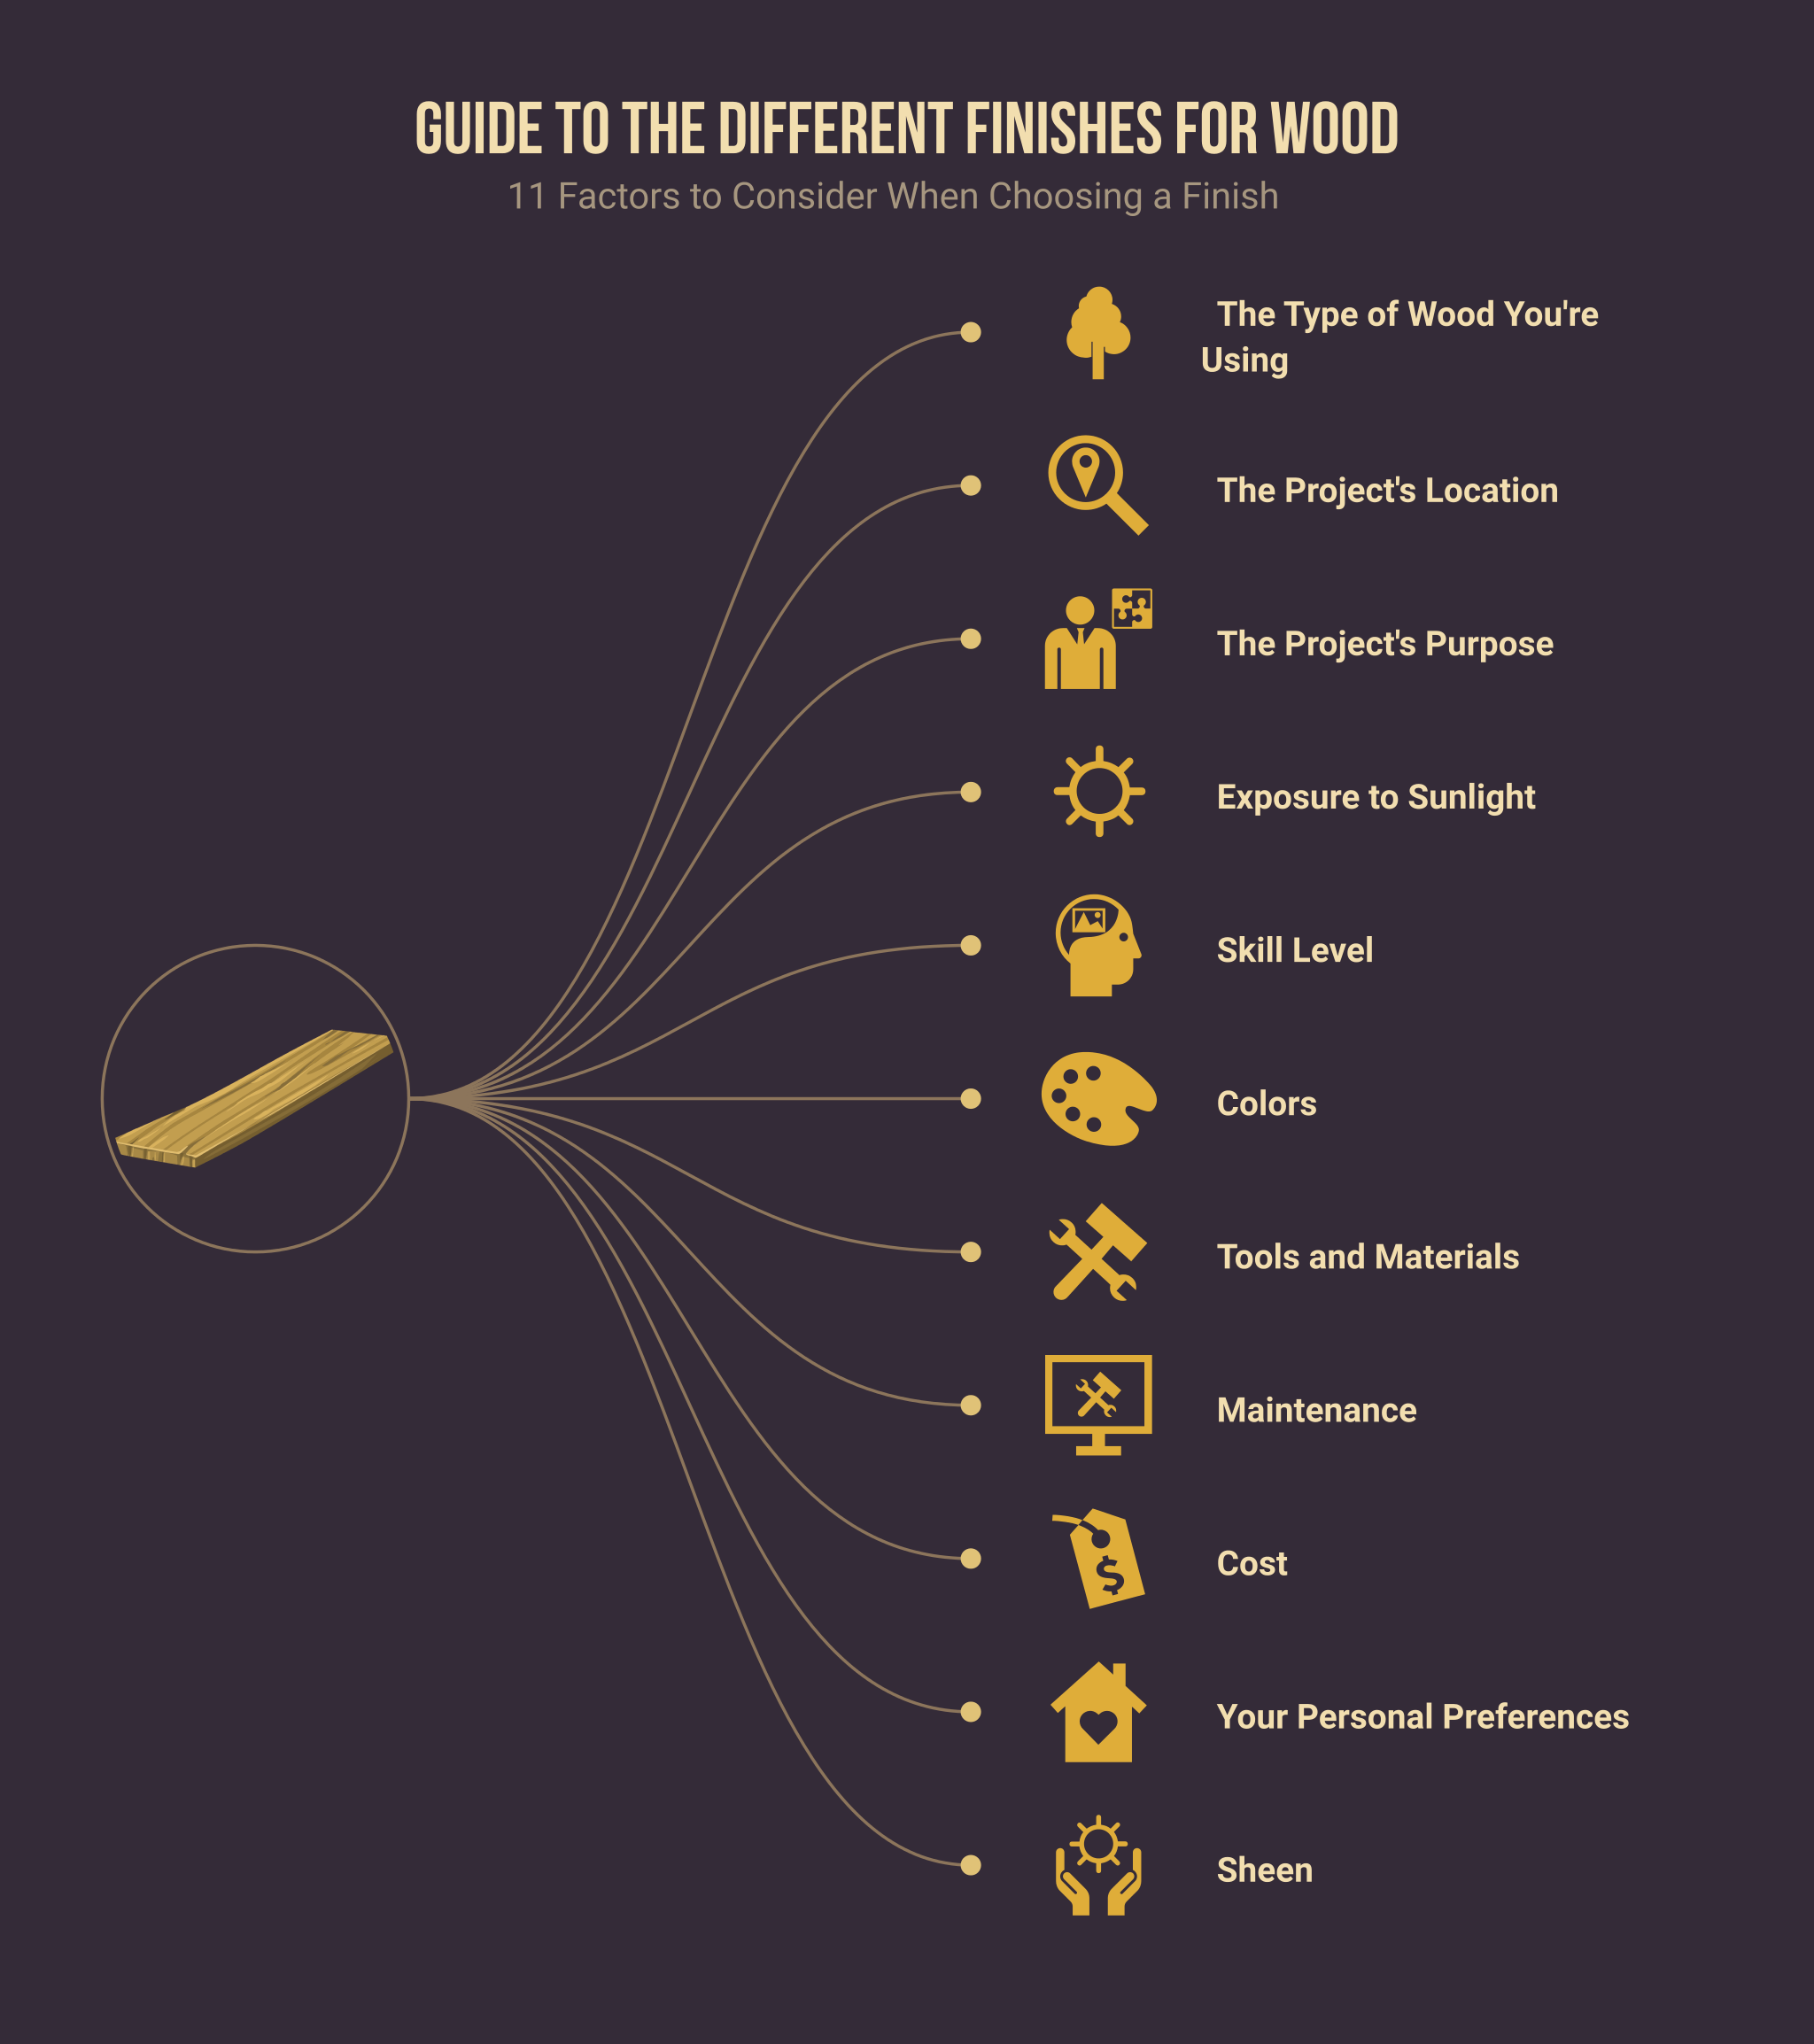
Now that you know about the different types of finishes, it’s time to select the right one for your project. Here are some factors to consider:
✅The Type of Wood You’re Using
One of the most crucial aspects to consider when selecting a finish for your woodworking project is the type of wood you’re using.
Different types of wood have different natural traits that affect how the finish looks and how well it works. For example, a softwood like pine will absorb more stain than a hardwood like maple, resulting in a darker final color.
If you’re planning to paint your project, remember that oils and resins in some woods can prevent paint from adhering properly. Sanding the wood before painting can help to reduce this problem.
✅The Project’s Location
Another important factor to consider is the project’s location. If you’re finishing a piece of furniture used in a high-traffic area, you’ll need to choose a durable and easy-to-clean finish. A clear finish like lacquer or varnish is a good choice for these types of projects.
If you’re finishing a piece that you will keep in a less-trafficked area, you can choose a finish that is less durable but more decorative, such as paint or stain.
✅The Project’s Purpose
The purpose of your project will also affect the type of finish you choose. For example, a coffee table that serves food should have a food-safe finish like lacquer or varnish. On the other hand, a dresser that you will use for storing clothes does not need to be food-safe.
✅Exposure to Sunlight
Another important factor to consider when choosing a finish for your woodworking project is exposure to sunlight. Some finishes, such as lacquer and varnish, can yellowish or fade when exposed to direct sunlight. If your project will be placed in a sunny window or outside in the sun, you may want to choose a different finish.
Other finishes, such as stain and oil, improve with age and develop a richer patina when sunlight exposes. Sunlight can cause some finishes, such as paint, to chalk or crack.
✅Skill Level
If you’re new to woodworking, you’ll want to choose a finish that is relatively easy to apply and forgiving of mistakes. A good option for beginners is a water-based finish, such as varnish or polyurethane. These finishes are easy to apply and clean up and provide good protection against wear and tear. If you’re more experienced, you may want to try an oil-based finish, such as tung oil or danish oil. These finishes can be more difficult to apply, but they offer a beautiful natural sheen that enhances the wood grain.
✅Colors
Do you have a specific color in mind for your project? If so, that will narrow down the choices of finishes that are available to you. Some finishes, such as paint and stain, come in a wide range of colors. Other finishes, such as lacquer and oil, are available in clear versions that allow the natural color of the wood to show through.
✅Tools and Materials
When you’re selecting a finish for your project, it’s important to consider the tools and materials you’ll need for the job. For example, if you are using a brush to apply the finish, you will need to make sure that the bristles are made of a material that is compatible with the finish. Otherwise, the bristles may fall out or shed during application. You’ll also need to make sure you have the proper ventilation for applying oil-based finishes, as the fumes can be harmful.
✅Maintenance
Next, you’ll need to consider the amount of maintenance required for the different types of finishes. Some finishes, such as paint and lacquer, require regular cleaning and touch-ups to maintain their original appearance. Other finishes, such as oil and wax, only need to be reapplied every few years.
✅Cost
Generally, you’ll need to consider the cost of the finish and the tools needed to apply it. Some finishes are more expensive than others, and some require special equipment that may add to the cost. However, the price should not be the only factor you consider when choosing a finish for your project. The most important thing is to choose a finish that will provide the look and protection you want for your project.
✅Your Personal Preferences
Of course, your personal preferences should also be considered when choosing a finish. If you’re unsure which type of finish to choose, experiment with different options on scrap pieces of wood until you find one you like.
✅Sheen
When choosing a finish for your project, the sheen you desire is the final factor to consider. Sheen is the amount of light reflecting off the wood’s surface. The higher the sheen, it will reflect the more light.
The most common types of sheen are matte, semi-gloss, and high-gloss.
Matte finishes have a very little sheen and are often used for projects that will be handled a lot, such as table tops and cutting boards.
Semi-gloss finishes have more sheen than matte finishes, but they still allow some of the wood’s grain to show through.
High-gloss finishes have the highest amount of sheen, making the wood look almost like plastic.
These finishes are often used on projects that will be displayed, such as cabinets and furniture.
HOW TO APPLY WOOD FINISH
Once you’ve selected the right finish for your project, it’s time to apply it. The specific steps will vary depending on the type of finish you’re using, but there are some general tips that will help you get a professional-looking result.
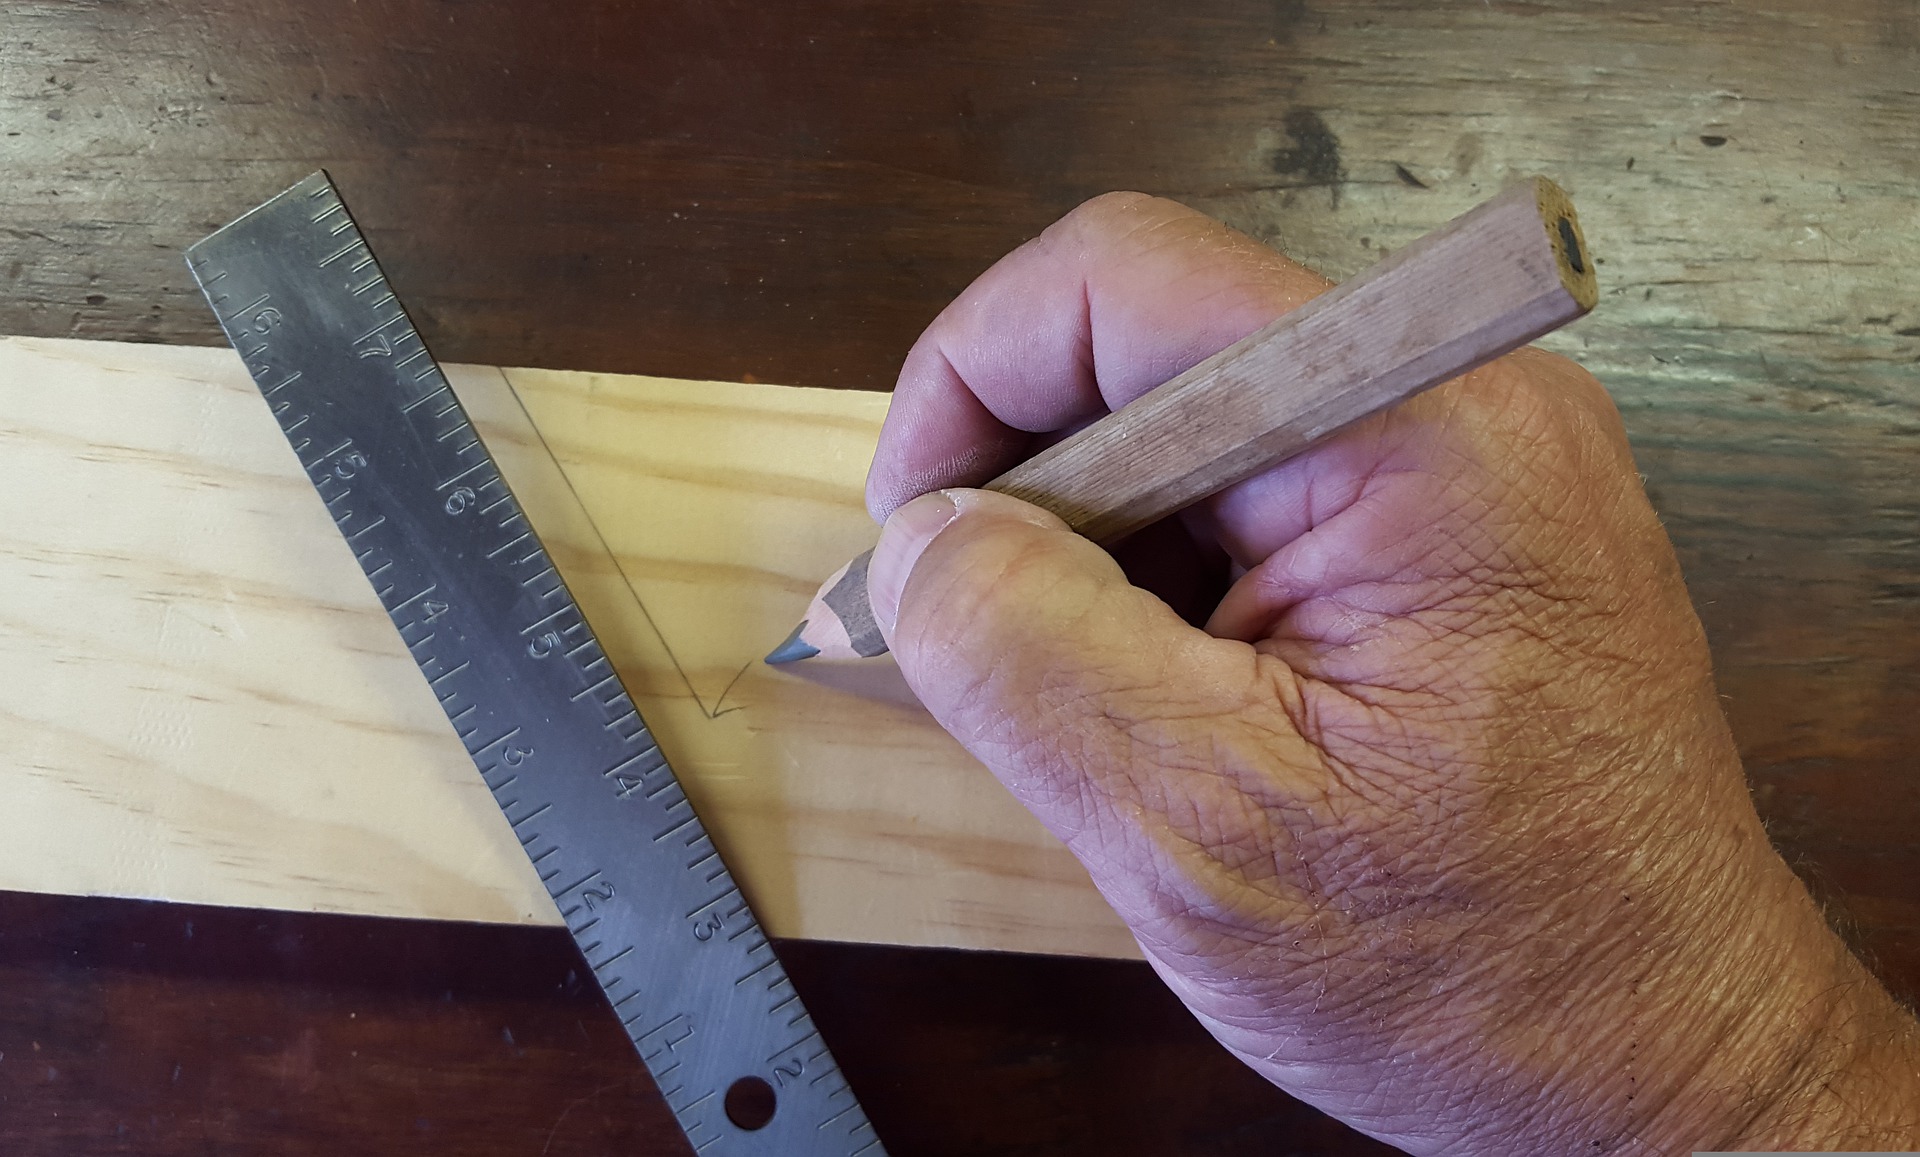
STEP 1: Prepare the surface
The first step is to prepare the surface of the wood. This involves sanding down any rough spots and removing any dust or dirt. It’s important to do a thorough job at this stage, as it will magnify any imperfections once the finish is applied.
STEP 2: Apply the Finish
Once the surface is prepared, you can start applying the finish. For best results, follow the manufacturer’s instructions for application. In general, you’ll want to start by applying a thin finish layer and then build up to thicker layers.
STEP 3: Let it dry
After you’ve applied the finish, you’ll need to let it dry completely before using or handling the piece. Depending on the type of finish, this can take anywhere from a few hours to a few days.
STEP 4: Apply additional coats
Once the first coat has dried, you may need to apply additional coats to achieve the desired look. For most finishes, two or three coats are sufficient.
STEP 5: Buff and polish
Finally, you’ll need to buff and polish the surface to bring out the shine. This is usually done with a soft cloth or brush.
With these tips in mind, you’re ready to choose the right wood finish for your next woodworking project. Be sure to experiment with different finishes and find the one that best suits your needs.
FINAL WORDS
Every project is different, and there is no single “best” finish for all projects. The best way to determine which finish is right for your project is to experiment with different types of finishes on scrap pieces of wood until you find one that you like. Keep in mind the factors discussed in this article, such as durability, cost, and personal preferences, and you’ll be sure to find the perfect finish for your next woodworking project.

