Are you encountering challenges when cutting angles on wood? The typical average miter saw cuts most angles effortlessly. How to measure and cut angles on wood? You can have different choices when it comes to figuring out the best way to measure a corner angle and cut the wood according to your project’s requirements.
Methods on how to measure and cut angles in wood
Standard Angles
How to measure and cut angles in wood? Cutting angles may seem like a great challenge for a beginner. When you use a miter saw for the job, there are provisions. Nearly every miter saw will have a preset lock setting for the angles, so woodworkers often use them. Common angles range from 45 to 22.5°. If your job requires one of these preset angles on your miter saw, cutting will be effortless.
Degrees and Math
How to measure and cut angles in wood? It takes a bit of math to cut angles and wood. Don’t fret if your math skills are not the best. Accumulative angles will add up to 360°. In simple terms, the angle should surround the points which total 360°. A minority of smaller angles can come together to come up with a total of 360°. As an example, fusing 245° angles will result in a 90° corner. When you combine 90° corners, it will sum up as 360°. The same principle applies to objects with six sides. If you are creating something with six equal parts, each will require a 30° miter angle. 230° miters will result in a 60° corner. Six corners with 60° will result in 360°.
It is permissible to use a calculator to know the exact corner angles for cutting shapes with equal sides. The formula will only involve dividing 360 by the number of sides to come up with the correct angle. If your project requires five sides that are all equal, you simply divide 360 x 5, and you will end up with 72°. Each corner will form a 72° angle. Next, divide that number by two to get the miter angle. Since 72 divided by 2 is equal to 36, every piece should have a 36° miter cut.
Hands-On Approach to Cutting Angles
How to measure and cut angles in wood? Applying a hands-on approach is the most effortless and precise woodworking or carpentry angle calculator method. Even if your angles show up on the calculator, they likely won’t get a snug fit without gaps. The reason is structures such as walls, cabinets, frames, and other objects are not a perfect square. Moldings and other wooden structures will tend to twist, bend, and warp over time. Saws, in itself, are prone to user error. Although your angles should each be 30°, they may not be an exact fit because there will be irregularities. Using the hands-on approach will minimize many of those differences.
Drawing
How to measure and cut angles in wood? Begin by drawing a full-size blueprint of an angle on the wooden piece. Using a straight edge, cut in half the corner diagonally. The line will represent the miter angle. If you require a 90° corner, you have to cut the piece in half with a line drawn on the straight edge to get to 45° miter angles. Create a model by putting two similar pieces of wood on the draft drawing. Parallel them as if they already had miters attached. Shift the diagonal line to the square ends of the wood piece using a pencil. It is perfectly all right if the line is a little imperfect.
Cut these pieces to examine your angles. Put one of the pieces on the miter saw’s bed. Move the blades in either the left or right direction to match the marked line. Set the blade in place and perform the cuts. Create an identical cut on the other wood piece applying the same angle but reverse to either the left and right. Put the two pieces on the drawing and place them parallel to each other. Examine the miter angle. If there are some spaces on the inside, the angle may be too sharp. If there are spaces on the outer part of the angle, it will be too shallow. Fine-tune the blade one or 2° at a time and cut your piece again until you get perfect outcomes.
Using a Bevel Square
Often referred to as an angle finder, the bevel square is a flattened blade that moves and sets on a handle. Move this tool to make measurements of angles for carpentry by freeing the lock on the bevel square. Parallel the blade with any given angle either on paper or a wooden test piece. Turn the blade to match the angle on the wood. Turn the nut to lock the blade in place once you got your angle. How to measure and cut angles in wood?
You can now transfer the angle onto your wooden projects. Swivel the miter saw blade either to the left or right or turn a miter gauge on a table saw on the left or right direction to match the beveled square angle. Set the blade at the correct angle and make the cuts. Cut through the test pieces using the scrap wood and examine angles using the beveled square. Testing pieces may seem like a hassle, but they can save you money because you won’t be wasting pricey materials with measurements that aren’t precise.
Protractor Angle
You can also apply a protractor to come up with the correct angles. However, using one can be a confusing process when you apply them to moldings and trim carpentry. You read protractor angles from the corner. Tools such as miter saws and miter gauges read angles from the fence side. As an example, a 22.5° preset miter angle on a saw is equal to a 60.5° angle read off the corner with a protractor.
How to measure and cut angles in wood? When you cut angles on wood, you will need a lot of practice and patience, as well as a few math skills. Experimenting with different methods will help you come up with the one that works best for you and your unique project.
3 Ways to Cut Timber- how to measure and cut angles in wood
Method 1–Cut Without a Guide
How to measure and cut angles in wood? The most fundamental method of measuring is to eyeball the material and mark and cut it. For basic jobs, accuracy isn’t all that important, and eyeballing is quite sufficient. However, unless you have a keen eye and have improved your skills over the years, the results can be variable. Beginners may end up with distorted cuts on the edge of the wood.
Step 1. Mark the Dimensions on the Timber
How to measure and cut angles in wood? Using a sharpened pencil to come up with a thin marking line on the wood. Bring down the tape close to one of the edges and make a guideline.
Step 2. Use a Carpenters Square to Mark Top Side
Using a Carpenter’s Square will allow you to make right-angle marks across the wood. You can also utilize an engineer’s square or a triangle. Hold the square’s handle firmly against the wood as you make markings. It is ideal if you could position them on the mark you’ve made at the beginning. Slide the square so that it gets closer to the tip. Make the necessary marks along the square.
Step 3. Mark the Two Vertical Sides
Continue applying marks to the two vertical sides of the woods. Make a guideline on both sides.
Mark a guideline on both the vertical sides
Step 4. Hold the Wood Firmly and Cut with a Hand Saw
If you have a vise, utilize this to settle the wood securely as you saw. You can also use your knee, a stool, or a low table. How to measure and cut angles in wood? Apply pencil lines on the wood’s vertical surfaces as guidelines while you saw and try to keep your saw blades straight.
Method 2: Using a Miter Box
How to measure and cut angles in wood? Using a miter box increases accuracy when cutting. This device has slots on its vertical sides, which will act as guidelines and stop the saw’s blade from slipping away from the vertical. Metal wood and plastic types are available on the market. Some require a vise grip while others will have a hook or raised edges on the other side, which can be used against a bench’s edge.
A miter box enables 90 the degree cuts on wood as well as 45° cuts.
Using a Tenon Saw
A tenon saw is shorter than a typical handsaw and is less bulky to cut with. It will also have smaller teeth, which minimizes the blade’s tendency to tear away or chip the edges of the wood.
The saw’s rigid spine will also prevent the blade from curving and warping extensively while cutting. This method will give optimum results, which is crucial if you are making furniture or other objects where accuracy and refinement are important.
How to measure and cut angles in wood? As you cut, place the saw’s blade and teeth so that you can cut on the waste side of the pencil line rather than cutting within the center of the line. The weight of the saw cuts can produce spaces if you are cutting joints or doing finer work. A minimal error in length due to the saw’s weight when cutting along the center of the pencil line can add up and cause a bigger error.
Making and Using a Marking Knife
Using a pencil is suitable for rougher work; however, a marking knife will never get blunt and gives a finer line, which will allow you to come up with more accurate results when cutting the joint. You can make a mark by cutting a 4 to 5° angle using an old dinner knife. How to measure and cut angles in wood? The advantage of a longer blade is its flexibility so that it can reach into nooks and crannies.
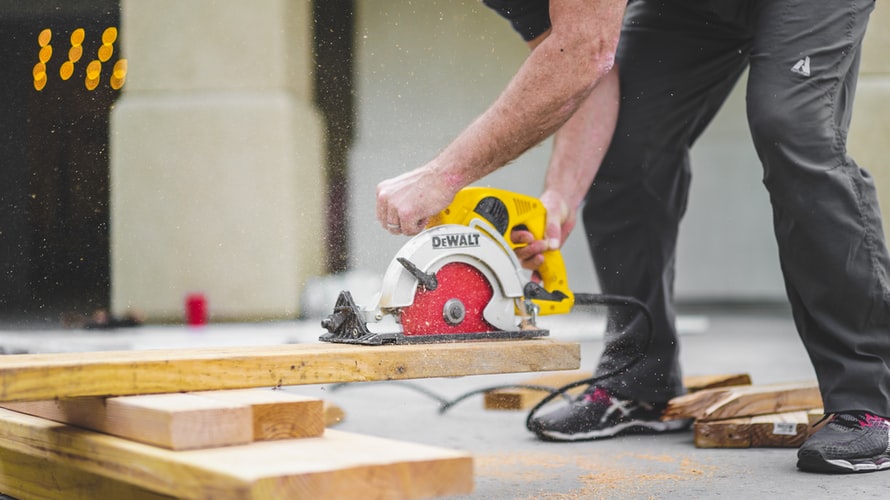
Method 3: Using a Miter Saw
A miter saw is a high-powered tool created to produce quick and accurate 90° and angled cuts. It is a vital tool when framing and building a stud wall. A regular saw will cut timber up to 4 x 2 in size, but a sliding miter saw will have a cutting edge that attaches on the reel and allows timber wood sizes 9 x 3 to be cut without using a bigger diameter disk.
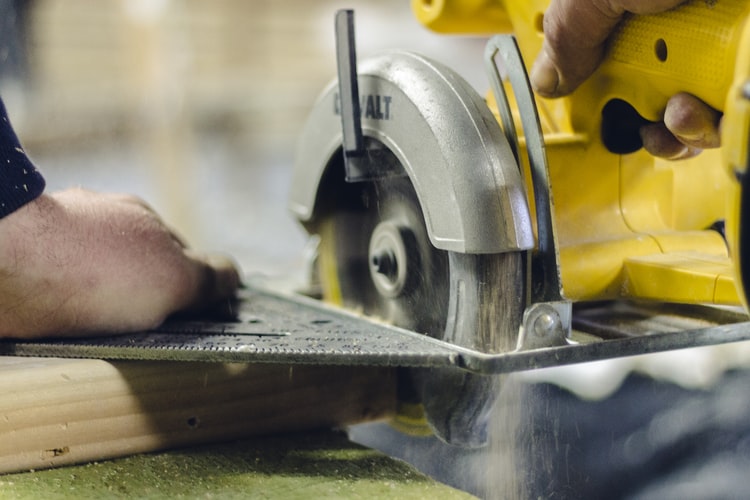
Miter saws come with blades, and it will have varying numbers of teeth. Blades that are coarse cut quickly on wood and are suitable for structural jobs. Blades with finer teeth move slower at cutting and results in cleaner edges and less splintering. How to measure and cut angles in wood?
It is important when cutting baseboard pieces and shelving as well as architrave.
It is possible to calibrate a saw by adjusting the grub screws to make sure that the saw will make an even and square cut. You can examine your cuts with a square to see if the saw is cutting precisely so you can make adjustments if necessary.
The width will normally be wider and is typically two or 3 mm for a miter saw blade compared to the handsaw. Therefore, it is crucial to cut on the waste side of the pencil line to ensure accuracy
Tips for Cutting Wood Using Hand Saws and Power Saws– how to measure and cut angles in wood
Always make sure that your hand saws are clean and remove any rust using wire wool or sandpaper. Lubricate the saw with lightweight oil such as Vaseline petroleum jelly or a candle.
How to measure and cut angles in wood? Keep your pencils sharp so that they will produce finer markings so your wood pieces can be cut precisely
Timber, especially softwood, swell and warp under damp and humid weather conditions. As an example, if your wood is indoors and you have an unheated garage or storage area, this can result in gaps wood. As much as possible, allow the wood to dry indoors for several days before using it.
Final Thoughts
Wood is a basic and necessary material in many structures and interiors. It is crucial to know how to measure and cut angles in wood to minimize waste. A beautiful wooden piece starts with making the correct cuts so all the pieces will match up with minimum gaps. It is also crucial to invest in the best carpentry tools and measuring devices to make working with wood effortless and fun.