Building a wooden bed frame is not really that hard. Moreover, there may be instances that there is no available wooden bed frame that suits your needs and preference. Because of this knowing how to build a wooden bed frame step by step is the best solution.
As we go along, we will discuss the way in making a simple yet affordable wooden bed frame. However, aside from skills, you also need particular materials in doing the said home furniture. And all other essential information will be discussed here.
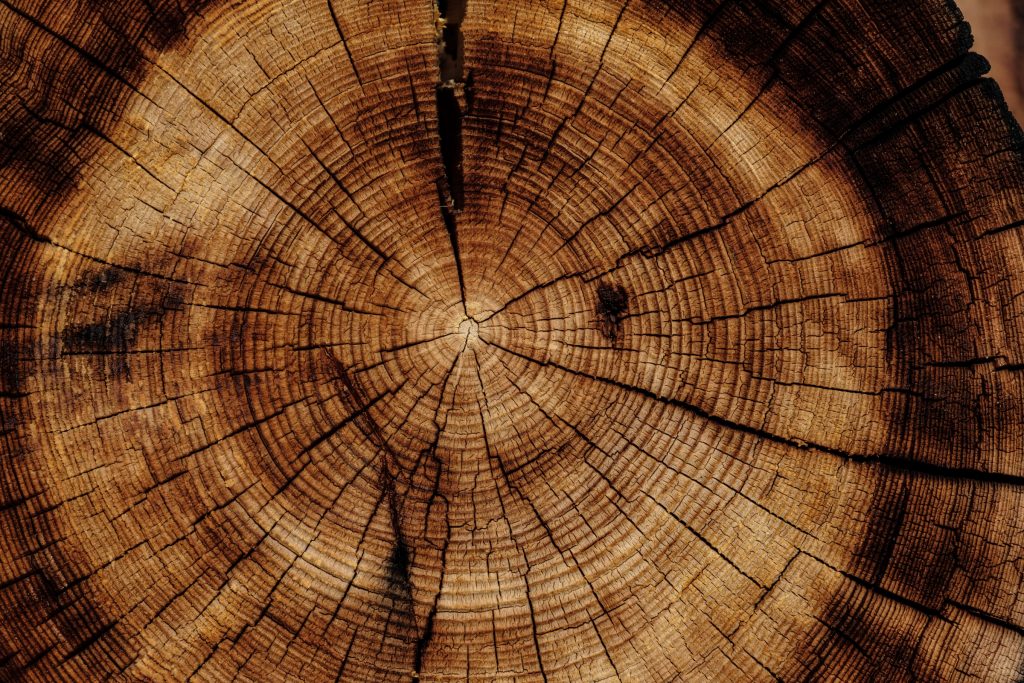
Using wood as bed frame materials
Basically, prior to choosing the wood in creating the bed frame, knowing the benefits of a wooden bed frame is essential. Generally, there are lots of material variations for bed frames nowadays. Many changes had happened but the wood material remains the most common and preferred choice. Below are the reasons for choosing the wood as a material for bed frames.
Durability
Generally, this is common in many kinds of wood. Moreover, the durability of the wood can be seen through its robustness. Because of this wood characteristic, the wood can last longer.
Versatility
Basically, various styles can be used to design the wooden bed frame. From a basic design that can be easily constructed to the complex design of strong wood carvings, the versatility of wood can be seen. Moreover, the colour of the wood material can also be changed by bleaching or staining.
Low maintenance
Cleaning of a wooden bed frame is not as tough as other bed frame materials. For just a few minutes, you can clean a wooden bed frame sufficiently.
Moreover, there is no presence of rust that must be a problem. Additionally, numbers of frames have been coated with varnish or other materials.
Wood Materials: Hardwoods vs. Softwoods
Generally, creating a bed frame entails material variations to choose from. One of those is the wood that is actually the most popular and desirable material in making furniture. Basically, all varieties of furnishings utilize almost all types of woods as materials.
Moreover, each type entails unique characteristics. Furthermore, every attribute contributes to the uniqueness, beauty, and quality of the wood as a bed frame material.
Primarily, there are two major categories of wood that are used for bed frames. They are the hardwoods and the softwoods. However, these categories do not represent the actual softness or hardness of the wood.
Hardwood
The hardwood usually comes from flowering trees and those that produce seed on a seasonal basis. Moreover, hardwood has a slow-growing process in order to fabricate denser woods. And, generally, furniture from hardwood materials last longer and remain sturdy for a long period of years.
Furthermore, not all hardwoods are always durable and sturdy. Examples of these are the basswood and poplar. Additionally, hardwoods are darker in shades and quite expensive. Below are the best examples of hardwoods for bed frames:
- Mahogany
- Oak
- Birch
- Maple
- Ebony
- Teak
- Poplar
Softwood
Typically, softwoods are conifers and grow faster. Moreover, this wood type of bed frame material requires simple workforce. Generally, softwoods are less expensive compared to hardwoods. Here are the common softwoods available for bed frames and other furniture:
- Cedar
- Yellow Pine
- White Pine
Tools and materials needed on how to build a wooden bed frame step by step
Before you start creating a wooden bed frame, the primary step to make is to prepare the materials and tools to be used.
Required Tools:
- Straight Edge circular saw
- Sander with grit sanding discs (random-orbit type)
- Square for framing
- Drill with countersink plus driver bits (cordless type)
- Drill bit (size: ⅜”)
- Clothing iron
- Clamps
- Hex keys
- Wood glue
- Sanding pads (fine-grit type)
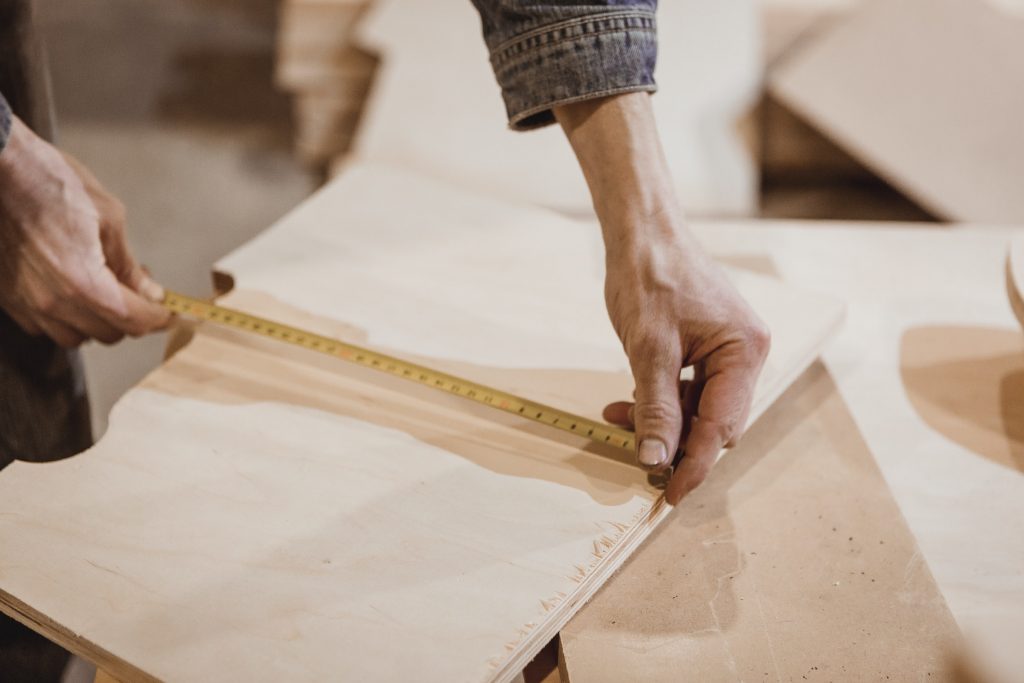
- Tape measure
- Combination square
- Straightedge
Needed Materials:
- Red oak with edging of iron-on type (size: ¾” x 25′)
- Red oak with edging of iron-on type (size: 2″ x 8′)
- Wood screws flathead type (size: #8 of 1-¼”)
- Wood screws flathead type (size: #8 of 2″)
- Connector nut of antique bronze type (size: 4-¼”)
- Connecting bolt of antique bronze type (size: 4-¼” x 50mm)
- Wood stain
- Polyurethane of wipe-on satin type
A process on how to build a wooden bed frame step by step
Basically, there are three major divisions on how to build a wooden bed frame step by step. Moreover, from there, several steps in making such a wooden bed frame should be taken.
How to build a wooden bed frame step by step: Building the Base
Step 1:
Initially, cut the plywood into smaller parts in order to form both the bottom and top of the side-case (A). Additionally, from the plywood, you could also form the dividers (B) and the side backs (C). Moreover, you can also create the end-cases of top/bottom (D) and of the back (E).
Friendly Tip: Basically, for creating king-size and queen-size beds, include an extra divider. Usually, its utilization is in the end case.
Step 2:
The next step on how to make a wooden bed frame step by step is the alignment of the ends of the top section (A) and the bottom part (A) of side cases. Basically, the alignment of side cases is on the sawhorses. Subsequently, you need to layout the locations of the divider.
Friendly Tip: Generally, in order to guarantee the proper alignment of the plywood sheets during the assembly process, it is better to make use of a framing square.
Step 3:
Basically, the next thing to do is to cover the tops/bottoms (A) and dividers (B) edges of the plywood. Moreover, use a veneer edge tape in covering those parts to have a finished look.
Friendly Tip: Make sure that the veneer tape to cover the edges must be an inch longer than those plywood corners.
Step 4:
Activate the glue by using a household iron usually on the part of the cotton setup. Subsequently, position the veneer and press it over the panels’ edges.
Friendly Tip: Generally, by using a small portion of painter’s tape, the veneer can be secured until the adhesive has been activated.
Step 5:
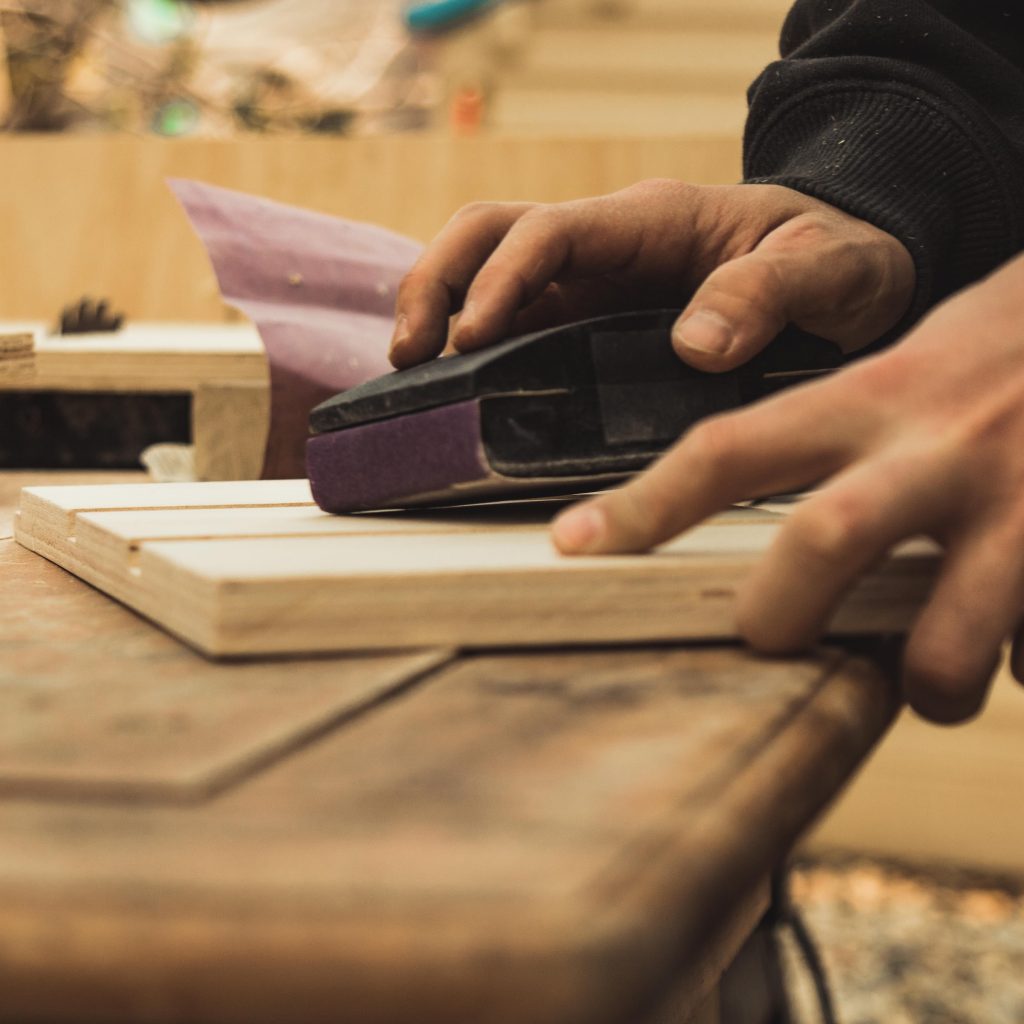
Primarily, for a few minutes, let the veneer tape to cool down. Moreover, cut the edges using a utility knife. Subsequently, sand the entire panel and all the edges.
Friendly Tip: Basically by using a sanding sponge, you can lessen any sharp corners. Moreover, it will also result in a soft edge veneer. Additionally, in order to smoothen the plywood panels, it is better to use a random-orbit sander that has sandpaper of 180-grit.
Step 6:
Generally, apply glue over the divider (B) while positioning it over the bottom (A). Subsequently, clamp those materials in position. Moreover, using three screws and glue, secure each divider.
Additionally, drill a pilot hole of countersunk type and using a screw, drive it by 1 inch from the front corner of the panel. Repeat this step for the other dividers.
Friendly Tip: Basically, through the use of a framing square, the dividers will be secured by 90 degrees to the front edge of the bottom portion (A).
Step 7:
Primarily attach the top part (A) into the case by glueing and screwing it. Moreover, secure the side back portion (C) into the top/bottom part (A) and the dividers by the use of screws. Basically, once the first case is finished, put up the second side case then create an end case through a similar process.
Friendly Tip: Generally, the back case connects flush into the headboard and to the one end of the case. Furthermore, the end case will cover the remaining opening close to the bed foot.
How to build a wooden bed frame step by step: Creating the Supporting Parts – Headboard and Mattress
Step 1:
Initially, cut the headboard part (F), the stiles area (G), and the rail (H) into designated size. Subsequently, assemble these parts through the use of glue and screws.
Moreover, cut the veneer corner about 2-inch wide. After this, iron the cut veneer over the headboard. Additionally, trim and smoothen the excess by sanding it.
Step 2:
Basically, using a utility knife, trim the veneer once the glue cools down. Afterwards, sand the newly set up headboard in order to make it smooth.
Step 3:
According to their length, cut the following materials: side rails (I) and end rail (J).
Step 4:
Primarily, cut the materials for the side supports (K), slats (L), and platform (M). These should have sizes of 2 x 4s for the support, 1 x 4s for the slats, and a ¾ inch thick plywood for the platform.
Friendly Tip: Generally, all of these parts do not need any finishing touches. Moreover, plywood does not need any edging. Further, when creating a twin-size bed, slats are not required beneath the platform. Meanwhile, the king-size bed requires two pieces of a platform for covering a large opening.
How to build a wooden bed frame step by step: Finishing the Bed
Step 1:
Basically, take away the back case from the base cabinets. Moreover, place some stain over these parts. Additionally, set up the headboard and the rails.
Subsequently, once the stain dries up, place at least three coatings of the satin polyurethane. Afterwards, smoothen the clear finish using sand with a sponge of 320-grit once the coat cures.
Furthermore, using a tack cloth, wipe it and put another coating. Finally, reinstall the back cases once the finishing coat cures.
Step 2:
Primarily, attach the side supports (K) at the back of the side case. Basically, place the side supports with measurements of about ¾ inch under the case’s top edge.
Step 3:
Generally, incorporate the side rails (I) into the cases at the side. Remember to flush the rails on the end of the cases headboard. Additionally, through a ½ inch size, overhang the side and footboard end of the cases.
Step 4:
Basically, place the materials inside the bedroom and place the cases at the location of the bed measuring a foot size from the wall. Moreover, slip the headboard into the corresponding location. Furthermore, stretch a 1 inch behind the side cases and ½ inch on the side rails.
Additionally, drill two pieces of holes with a measurement of ⅜ inch into the side case dividers (B) and headboard set up. Afterwards, attach the headboard through ¼-20 connector bolts. Further, make sure to tighten the nuts through two pieces of Hex keys.
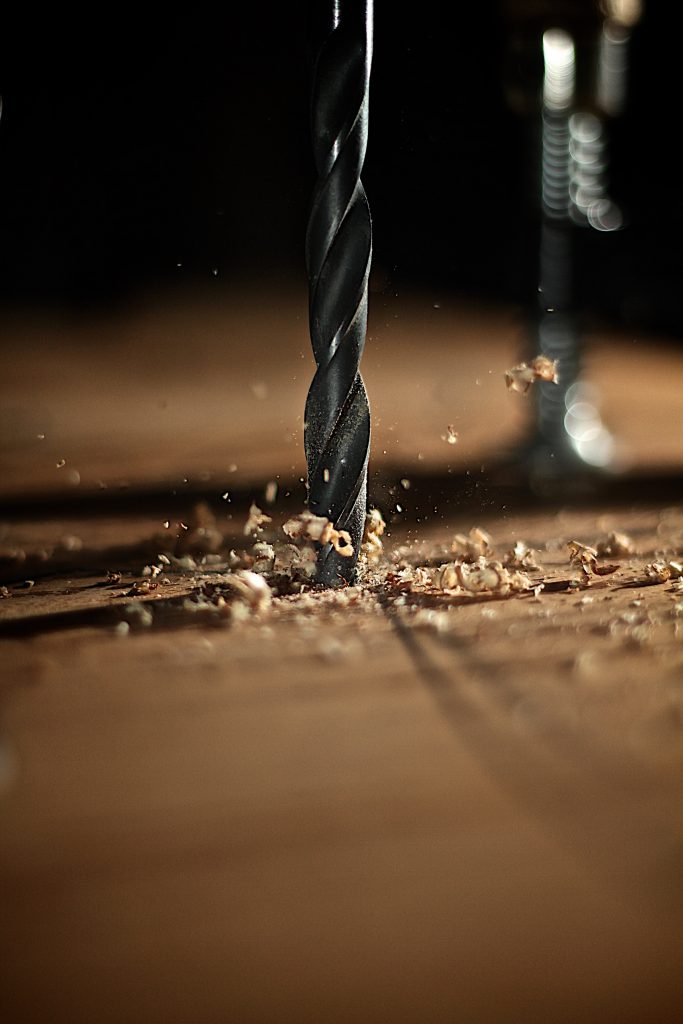
Check also: Finding the Best Cordless Drill for Homeowners – My Top 5 Picks!
Friendly Tip: Basically, once the connector bolts are tightened, it will square the bed set up.
Step 5:
Primarily, install the end rail crossing through the footbed and traversing between the side rails. Basically, this will result in overhanging of the bed ends by measurement of ½ inch.
Step 6:
Generally, lay down the slats (L) in an even distribution into the side supports. Moreover, put the platform (M) over the slats.
Step 7:
Finally, slide the bed on through the wall and incorporate the mattress.
Important Reminders:
- Ensure to use proper bed frame materials, better to choose high-quality ones
- In making wooden boards, make sure that it is free from cracks or dents and is completely straight.
- Creating a wooden bed frame that is really sturdy is very crucial.
- To verify that the frame corners are in the right angle, it is recommendable to make use of the L-square
- An easier way to fasten the corner legs to the frame is to lock them temporarily into place using C-clamps.
- Through the use of corner brackets or pocket holes, you can hide the screw heads by securing the boards from the inside frame.
Wrapping Up
Initially, building your own bed frames is not as hard as you think. Moreover, you need to choose the appropriate material in making the bed frame. The most popular material available is wood. Primarily, it is important to know the benefits of using wood for bed frames.
Along with this, knowing how to build a wooden bed frame step by step can help you achieve the bed frame based on your preference. Now that you already have an idea with the bed frame making process, you can now make one best furniture inside your home.

