How to renovate a bathroom is something that most people dread. I mean, who wants to deal with the hassle of ripping out porcelain fixtures, tiles, and mirrors? I remember the first time I attempted to renovate a bathroom; there were moments of frustration, exhaustion, and self-doubt as I tried to figure out the best way to get it done.
That is why I made this guide; it is to help every DIY enthusiast renovate a bathroom with ease. It doesn’t matter if you have zero experience in home renovation; this guide is for everyone who wants to do it the DIY way. So grab your tools, and let’s get started!
Planning Your Bathroom Renovation
1: Decide on Design Elements
Your design elements are the foundation of your bathroom reno plan. You must identify what focal point you want to achieve before starting the work. You may know what you want but must be specific about design details to get the right outcome. Here are some factors that you should consider:
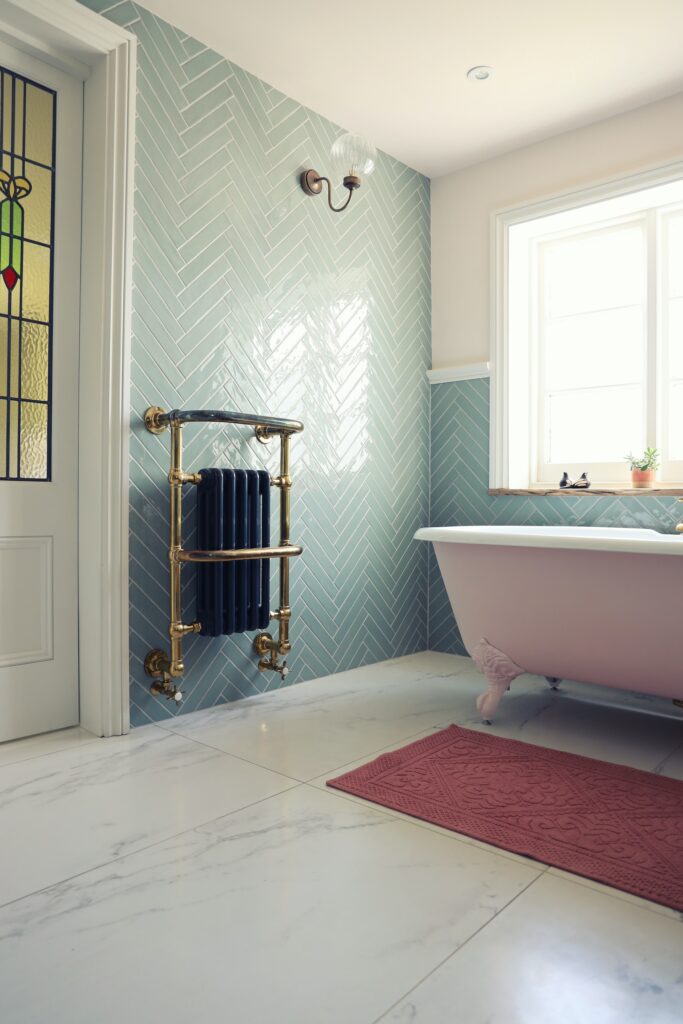
Color scheme
The right color scheme can create a relaxing atmosphere, make a bathroom space feel larger or smaller, and even affect your mood. So before you start tearing down walls and ripping up tiles, take some time to consider which colors will work best for you. Will you go for a soothing blue or a bold black-and-white contrast? Remember, your chosen color scheme will set the tone for the entire space, so choose wisely.
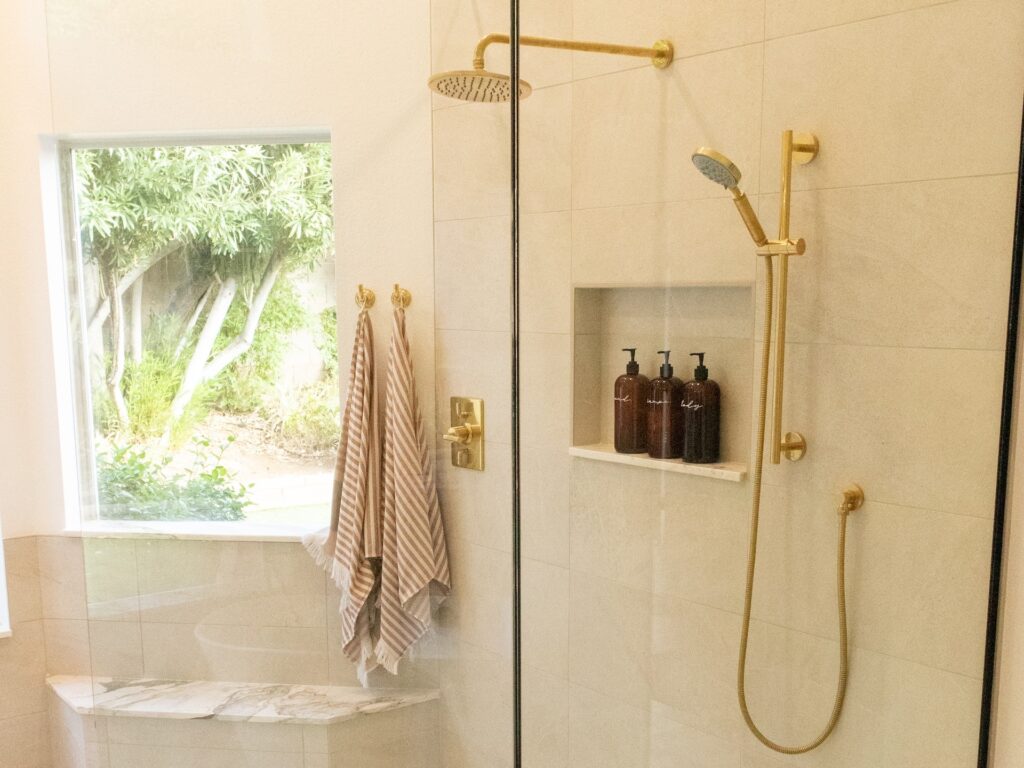
New fixtures
New fixtures can add a touch of elegance and style that ties the room together. The options are endless, from sleek new sink faucets to luxurious showerheads. Consider what kind of statement you want to make and choose fixtures to bring your design to life.
Storage space
You might be focused on getting that spa-like tub or luxurious shower enclosure, but your bathroom could become a cluttered disaster without adequate storage. Consider the things that you need to keep in your bathroom, such as toiletries, towels, and cleaning products. Then, make a plan to organize them properly. Consider incorporating built-in shelving, floating shelves, or install cabinets to keep everything organized and within reach.
Location of utilities
These elements can greatly affect the design and bathroom layout. You want to avoid ending up with a beautiful new shower that doesn’t have proper drainage or an outlet that is too far away from your hair dryer! Before diving into your bathroom project, it’s crucial to understand where your utilities are located and how they will impact your design choices. It may involve extra planning and rerouting plumbing pipes or electrical wires.
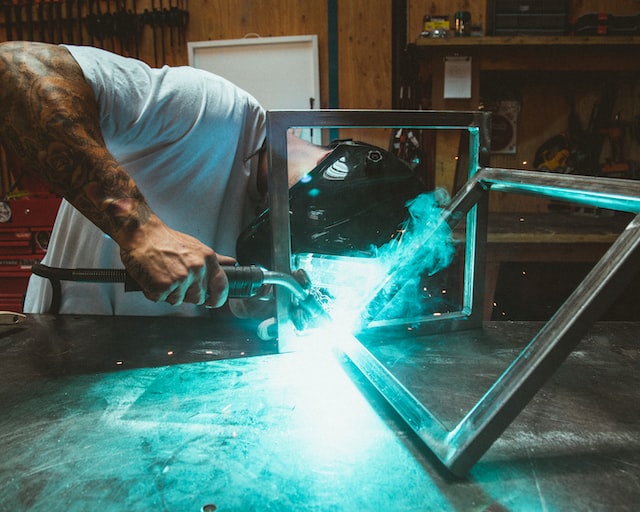
2: Gathering Tools
Once you have your design plan, it’s time to gather the right tools for the job. Depending on the scope of your project, you might need anything from a drill to a demolition hammer. Start by listing all the necessary tools and ensure you have everything you need before beginning.
In order to renovate a bathroom, it’s beneficial to have some additional tools in your toolbox in addition to the ones you already have at home. These include:
- Safety mask
- Goggles
- Silicone sealant
- Gloves
- Caulking gun
- Hammer
- Tape measure
- Spackle
- Spackle knife
- Power drill
- Stud finder
- Pry bar
- Chisel
- Bucket
- Flathead screwdriver
- Adjustable wrench
- Utility knife
- Hacksaw
- Extension cord
- Chalk line
- Cordless drill ( Optional )
- Wet-dry Shop-Vac ( Optional )
You can easily rent these tools from most home improvement stores at a low cost. Alternatively, you could ask a friend or family member who has these tools if you can borrow them.
Now that you have the design elements, tools, and materials, you’re ready to renovate a bathroom.
Renovate a Bathroom in These Easy Steps
These steps are made for DIY’ers with some experience in home improvement, but if you are a beginner, it is highly recommended that you seek professional help. Nonetheless, here are the steps you should follow when renovating your bathroom.
①Removing the Bathroom Fixtures
Bathroom fixtures provide utility and style and can transform a dull space into an elegant one. But you need to remove the old ones before you can put in the newest fixtures.
Step 1: Shut the water off
Turning off the water supply before beginning the removal process is essential. Find the shutoff valve for every fixture – you can usually find this near the sink or toilet. Failing to turn off the water supply can result in significant damages that can cost plenty of money in repairs.
Step 2: remove bath tile if you fit a new shower/tub
Suppose you’re going to have a new shower or tub – great! Removing the bath tile will be crucial if you intend to install a new one. Unfortunately, it is one of the most challenging things to do. You can carry out the process yourself, but get advice from a professional if you’re uncertain. Also, use safety gear such as glasses and gloves to protect yourself from small slip-ups that are common during this phase.
Step 3: Remove the Insulation
Remove insulation from all exterior walls. Most bathroom insulation includes batting or Styrofoam boards. In most cases, insulation will be installed so that the drywall board’s seams meet in a cavity. It would be best if you removed the insulation to see if there is any damage within the wall. Remove the insulation selectively and dispose of it accordingly.
Step 4: Remove fixtures you want to replace
After removing all the tiles and insulation and opening up the wallboard, it’s time to remove the fixtures. Remove the valve handles and turn the nuts and bolts counterclockwise with a wrench. If possible, disconnect the showerhead from the shower arm. Keep all fittings, nuts, screws, and washers together—including wall-mounted brackets.
Step 5: Disposal of Fixtures
When all the fixtures have been successfully disassembled, it’s time to dispose of them, and you have several options. You can take them to a dump (local council), ask your contractor to dispose of them, or donate them if they are in good condition. Ensure you dispose of the fixtures properly to reduce environmental impact.
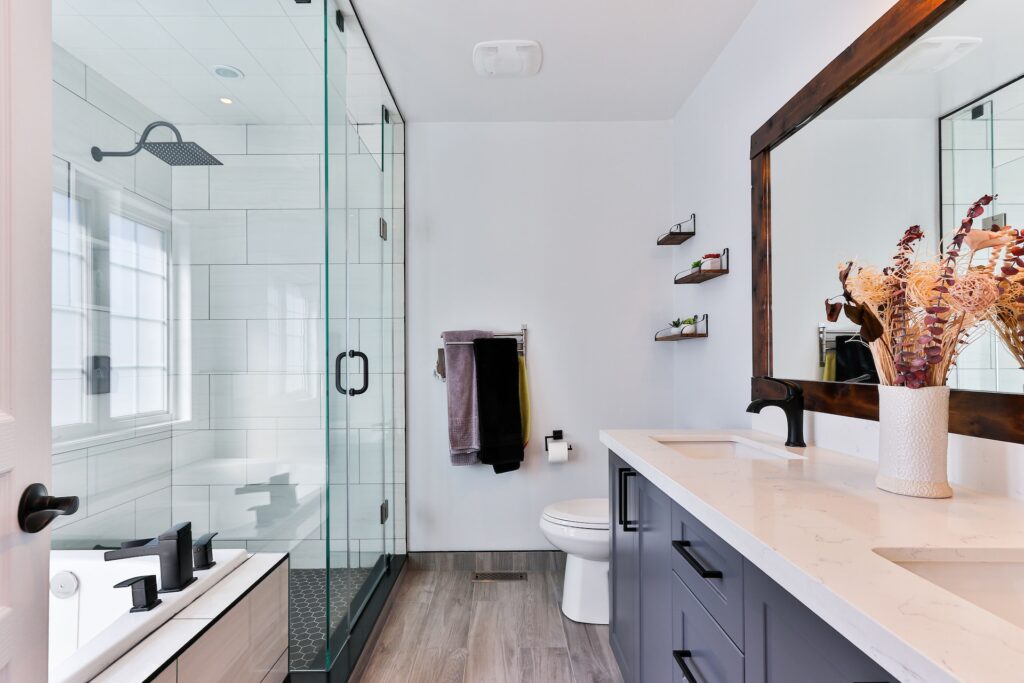
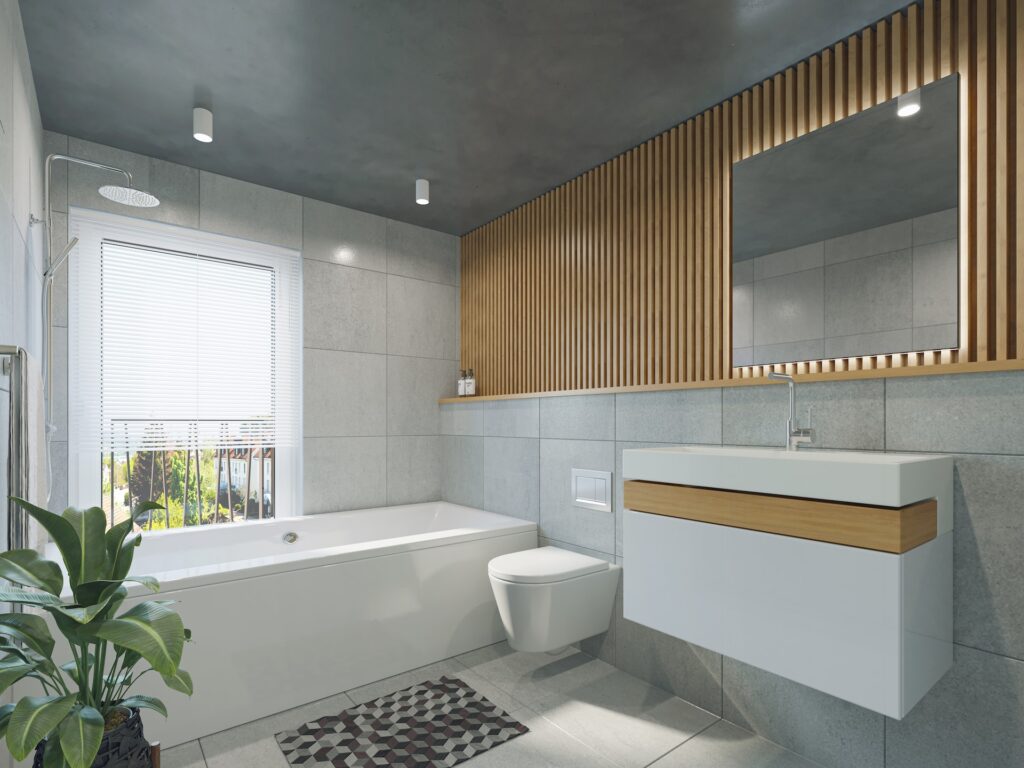
②Installing New Tub or Shower
Now that you’ve successfully removed all the old fixtures, it’s time to install the new ones.
Step 1: Is your subfloor intact?
Before installing your new tub or shower, it’s essential to check the subfloor for any signs of water damage or rotting wood. Moisture can seep into the subfloor, causing mold and structural problems. If you spot any issues, replace the subfloor before installing your new fixtures. This will prevent further damage and ensure your bathroom remodel is safe and sturdy.
Step 2: Choosing the right pan or basin
When selecting a new shower pan or tub, choose a piece that will fit seamlessly into your new bathroom design while still fitting into the existing space. Typically, you’ll find basins coming in rectangular, square, or pentangle shapes, making selecting the right size to suit your bathroom size and shape easier. Alongside size, features like anti-slip textures and soak time are vital factors to consider, depending on your needs.
Step 3: Planning a shower vs. tub installation
While some people relish a leisurely soak in the bathtub, others prefer the invigorating flow of a shower. Determine your preferences and choose whether to install a shower, a tub, or both. Remember to factor in space and budget constraints before making your decision.
Step 4: Details and accessories
Your new tub or shower isn’t complete without a few corresponding details and accessories. Consider picking out coordinating showerheads, drains, and knobs. Investing in quality fixtures gives added character, intensifies the bathroom’s overall aesthetic, and re-establishes this project’s beautiful finish.
⓷Laying Flooring
Before laying your new bathroom flooring, you’ll need to choose the right material. While tiles are the most popular choice, they can be expensive and time-consuming to install, especially if you’re not experienced with tiling. Consider other options like laminate or vinyl, which are more affordable and easier to install. Plus, they come in various styles and patterns, so you can still achieve your desired look.
Step 1: Prepare Subfloor
Before you can lay your new shower floor, you’ll need to prep your subfloor. This means removing old flooring, cleaning the subfloor thoroughly, and making necessary repairs. Depending on the condition of your subfloor, you may need to use leveling compound or fillers to even out any bumps or dents.
Step 2: Mark Reference Lines
If you’re using tiles, it’s essential to mark reference lines to keep your tiles in a straight line as you lay them. Use a mason’s chalk line to mark reference lines perpendicular to the wall with the longest continuous line. This will ensure that your tiles are straight and level throughout the room.
Step 3: Cut Your Flooring Material
Whether using tile, laminate, or vinyl, you must measure and cut your flooring material to fit your bathroom. Use a straight edge and a utility knife to make clean cuts, and leave a small gap between the flooring and the walls to allow for expansion and contraction.
Step 4: Install Your New Flooring
Once you’ve prepped your subfloor, marked your reference lines, and cut your flooring material, it’s time to install your new flooring. Start in the center of the room and work toward the edges, keeping your tiles or planks in line with your reference lines. Follow the manufacturer’s instructions for adhesive and spacing, and leave a small gap between each tile or plank to allow for expansion.
⓸Hanging Drywall and Painting
This step is essential because it lays the foundation for your bathroom walls and sets the stage for a polished and professional finish that looks beautiful and adds value to your home.
Step 1: Use Drywall Mud and Tape to Cover Seams and Fill in Gaps
As you hang your drywall, you’ll notice seams between sheets requiring attention. Before moving on to the next step, addressing and covering these seams is important. This is where drywall mud and tape come in. Applying drywall mud with a trowel over the seams and covering them with tape will create a smooth surface ready for further finish work. Ensure the mud is even and flush with the drywall surface; otherwise, sand it until smooth.
Step 2: Use Cement Board Instead of Drywall for the Shower and Tub Wall
Regarding bathroom tile installation, shower and tub walls require a good substrate to resist water damage. Standard drywall is not waterproof and can quickly deteriorate if wet, leading to mold and mildew growth. A cement board is an excellent option for shower and tub walls, as it can withstand moisture and equalize the pressure exerted on tiled surfaces. The cement board is easy to install and offers a good surface for tile bonding.
Step 3: Coat the Cement Board with Redgard
Although the cement board is moisture-resistant, it still requires added protection against water damage. Applying a waterproofing membrane such as Redgard to the cement board will prevent water from penetrating the surface. This also creates a vapor barrier, minimizing condensation behind tiled surfaces and reducing the likelihood of mold and mildew growth. Redgard is easy to apply with a paintbrush or roller and needs to be set for 24 hours to ensure a proper seal before tiling.
Step 4: Preparing the Walls for Paint
After covering the seams and installing cement board with a waterproofing membrane, the walls are ready for paint. Use drywall sandpaper to remove any excess mud or excess bits of drywall that may have escaped into the paint. Apply a primer or sealer to drywall surfaces for better adhesion and a smoother finish. High-quality bathroom paint will ensure that it resists mold growth and peeling over time, making it durable and long-lasting.
Step 5: Wrapping Up
Hanging drywall and preparing it for paint is crucial in renovating your bathroom. By using drywall mud and tape to cover seams and fill gaps, cement board for shower and tub walls, waterproofing the cement board with Redgard, and priming the walls before painting, you can ensure a solid foundation for your bathroom remodel. These steps ensure a professional appearance and longevity to your new bathroom’s overall look. Don’t forget to enjoy the process and be creative to make your bathroom stand out.
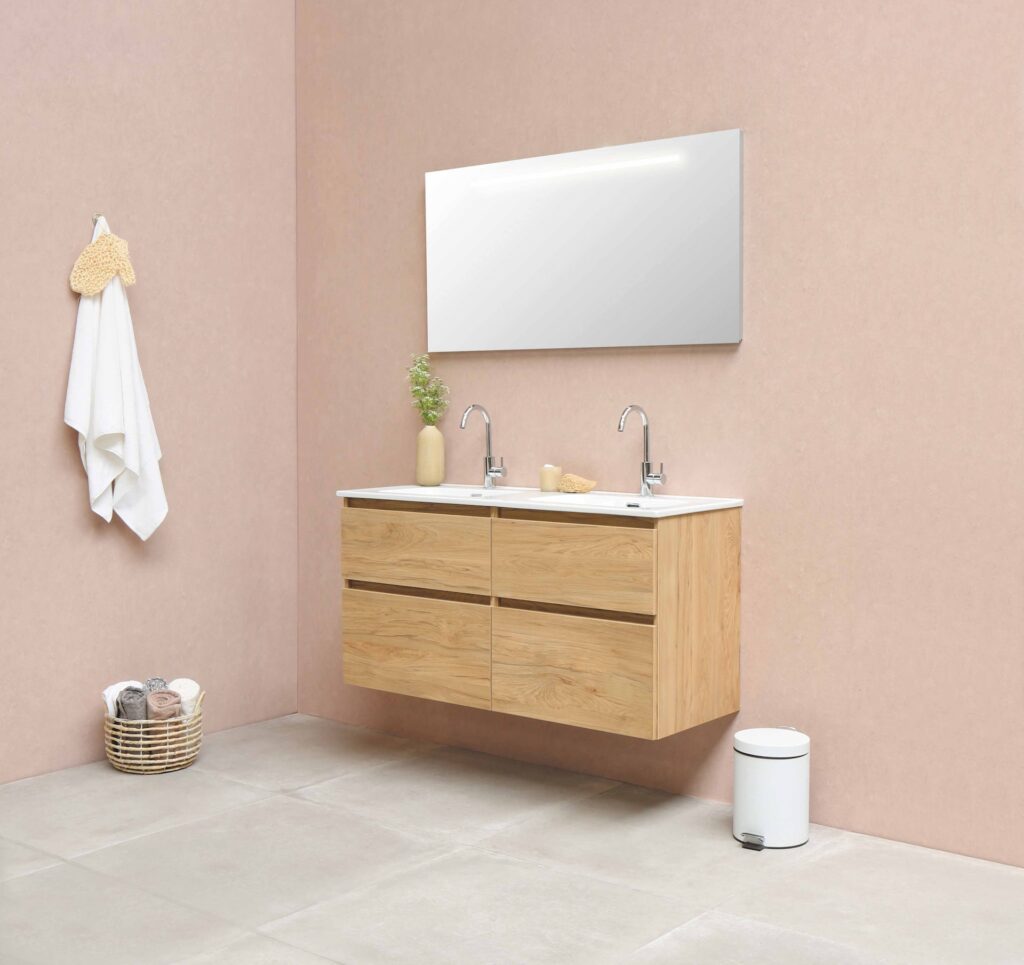
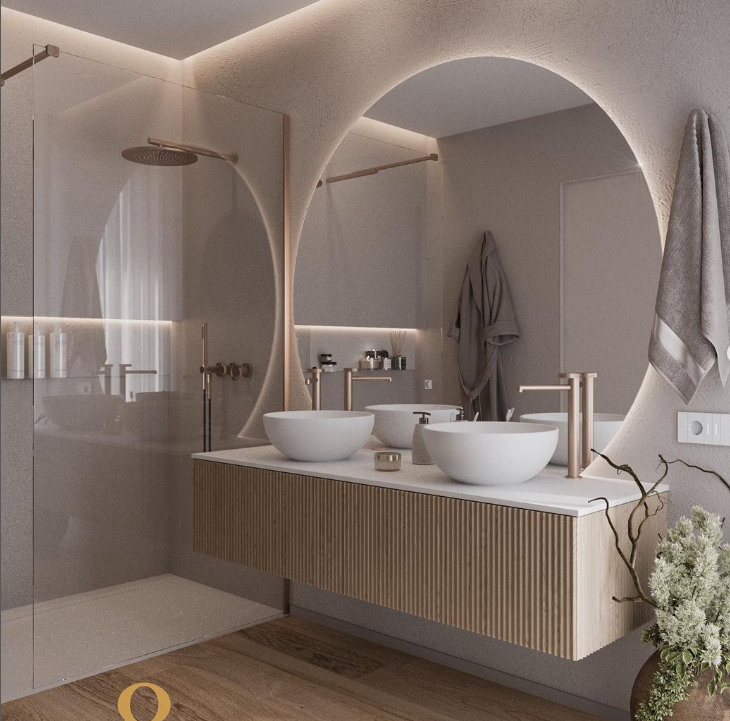
⓹Installing Vanity and Cabinets
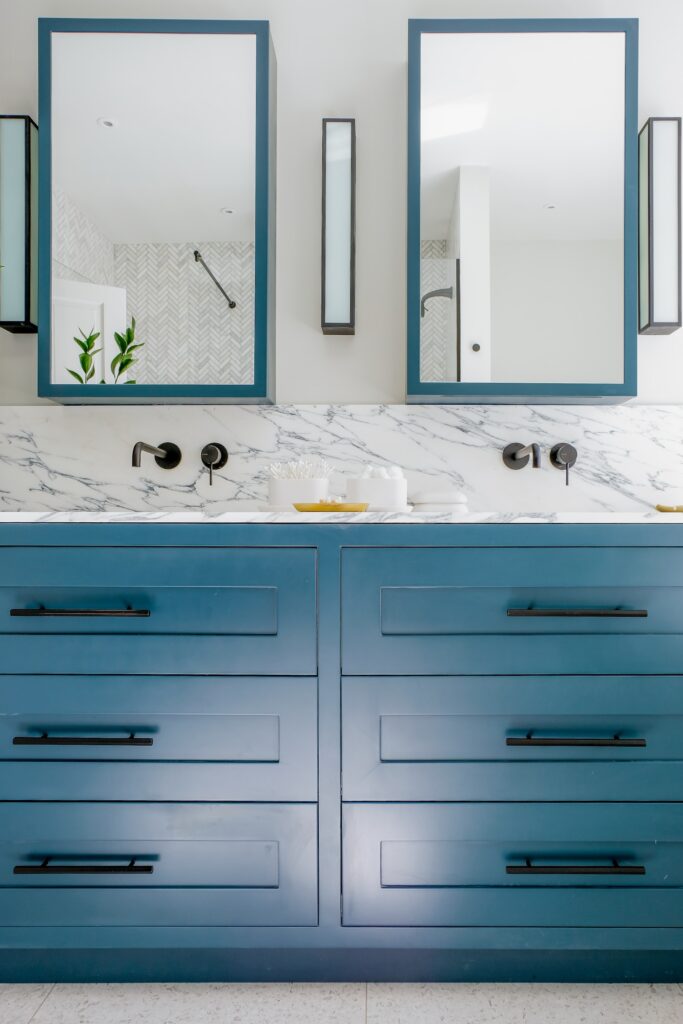
Before starting the installation process, you must prepare the site for the cabinets and vanity; this includes removing any old fixtures and cleaning and leveling the space. Ensure that existing plumbing connections are installed and prepared to work with the type of cabinetry and vanity you’ve chosen.
Step 1: Measure and Cut the Cabinets and Vanity
Before starting the installation, you need to measure your bathroom’s dimensions. Knowing the exact measurement saves you from installation errors and will help ensure everything fits perfectly. You need to cut the cabinets and the vanity according to your measurements. It will require the use of power tools. Ensure you have read the tool’s instructions and know how to use it.
Step 2: Assemble the Cabinets
Once you have cut the cabinets and vanity, it’s time to assemble them. Cabinet assembly work will require you to pay attention to detail, impacting your bathroom’s appearance. The assembly process can vary depending on your manufacturer. When assembling, ensure the cabinets are leveled and the doors and drawers are installed correctly.
Step 3: Install the Cabinets and Vanity
Once the cabinets and vanity are assembled, you can install them in your bathroom. You must install the cabinets and vanity correctly to ensure they are safe and secure. Start by installing the vanity first, fitting it onto the plumbing connections. Then install the cabinetry, and make any final leveling adjustments. It’s always a good idea to double-check your measurements and that everything is lined up as it should be.
Step 4: Finish the Installation
Once everything is installed, you can now finish the installation. This includes applying any trim, toe-kicks, and countertops to the vanity. Also, it’s time for the finishing touches, such as knobs, handles, and other hardware.
⓺Installing New Lighting
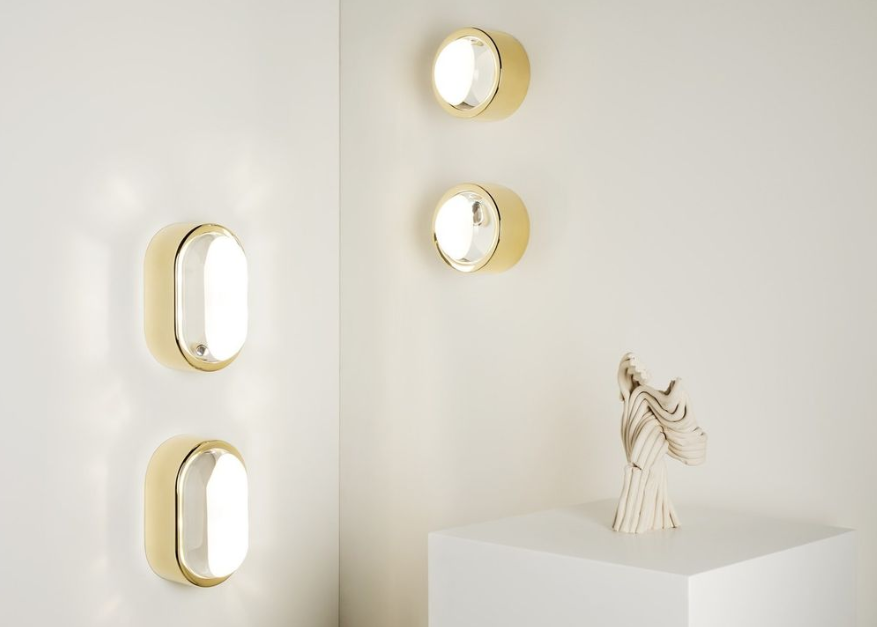
The lighting in your bathroom is crucial for practical purposes and for setting the overall mood and atmosphere.
Step 1: Lighting Preference
Before starting this step, you must have a lighting plan in place. The plan should include:
- The type of lighting you want.
- The number of lights required.
- Their placement.
- The kind of switches and dimmers you want to incorporate.
You can consult an electrician or a lighting specialist to help create a lighting plan that suits your needs.
Step 2: Determine the Placement
Once you have a lighting plan in place, If you are installing new lighting fixtures, you will need to determine the placement of the fixtures. Installing a new light fixture requires electrical wiring, so if you are uncomfortable with this task, you should hire a licensed electrician. The electrician will help you install new wiring and switches and connect them to the existing electrical system.
If you are updating the lighting without changing the fixtures, this will require a lot less work. In this case, you can replace the old bulbs with new energy-efficient ones. Alternatively, you can add new lighting elements, such as pendant lights, chandeliers, or strip lights. These light fittings can add a stylish touch to your bathroom while providing ample light.
Step 3: Mirror Lights
In addition to the general lighting in your bathroom, the bathroom vanity area will require specific lighting. That’s where vanity lighting comes into play. Vanity lighting fixtures should be placed above the new vanity on both sides and provide ample task lighting. This is important as good lighting in this area can help groom, apply makeup, and more.
Step 4: Final Touches
You can finish the installation after all the light fixtures are in place. You will need to add any switches and dimmers if required. Once everything is connected, turn on the power and check if everything works correctly. If it does, you’re done!
Installing new bathroom fixtures and lighting can seem like a daunting task. However, with the help of these simple steps, you will be able to transform your bathroom in no time.
Common Bathroom Remodeling Mistakes that Many Homeowners Make
There’s something about a DIY project that is both exciting and fulfilling. Perhaps it’s the sense of pride you get from completing a task on your own or the satisfaction of knowing you saved some money by doing it yourself. However, there are times when DIY projects can end up being more trouble than they’re worth. This is especially true when it comes to remodeling your bathroom. As a DIY homeowner, I’ve made my fair share of mistakes while trying to transform my bathroom. Here are some of them:
Mistake #1: Not Having a Plan
When I started my bathroom remodeling project, I dove right in without any real plan. I tore off the tiles, ripped out the cabinets, and started painting without thinking about the overall look and feel I was going for. This resulted in much wasted time and money spent correcting mistakes. Before starting your remodeling project, it’s essential to have a clear plan in place. Take the time to research different bathroom styles and designs, plan out your budget, and ensure you have all the necessary tools and materials before getting started.
Mistake #2: Underestimating the Complexity of Plumbing
Plumbing is one of the most complicated aspects of bathroom remodeling. I naively thought I could handle any plumbing issues during my project, but I was wrong. Make sure you have a good understanding of the plumbing in your home and the necessary permits before attempting to make any changes. Otherwise, it could lead to costly damages and even more expenses.
Mistake #3: Overspending on Unnecessary Features
Bathroom remodeling projects can get expensive fast. One of my biggest mistakes was overspending on features I didn’t really need or want. While having a fancy showerhead or high-end fixtures is nice, it can sometimes be a necessity. Avoid overspending on unnecessary features by prioritizing your needs and sticking to your budget.
Mistake #4: Not Hiring Professionals When Necessary
Although DIY projects can be tempting, knowing when to call in the professionals is important. Some aspects of bathroom remodeling, such as electrical and plumbing work, should always be handled by licensed professionals. Don’t risk potential damages and safety hazards by attempting to do it yourself.
Mistake #5: Ignoring Safety Precautions
I was eager to complete my project as quickly as possible, so I often overlooked safety precautions. From not wearing gloves while handling sharp tiles to not properly ventilating during painting, I put myself at risk for injury and harmful chemicals. Ensure to take all necessary safety precautions, including wearing protective clothing and proper ventilation of the area while working on your bathroom remodeling project.
Learn from my mistakes so that you can enjoy the fruits of your labor without the added expenses and hassles.
Frequently Asked Questions
Is it easy to renovate your own bathroom?
Renovating a bathroom can be easy or difficult, depending on the size of the project and your skill level. However, with the right tools and knowledge, anyone can do it. If it’s your first time, starting with smaller projects like painting and installing new fixtures is recommended. This way, you can gain experience and confidence before tackling larger projects like tiling and plumbing.
What type of tile is best for bathrooms?
Ceramic and porcelain are the most popular types of tile for bathroom renovations. Ceramic tiles are affordable, easy to clean, and come in various styles and colors. Porcelain tiles, on the other hand, are more durable and moisture-resistant, making them ideal for bathroom floors. Other options like natural stone tiles and mosaic tiles are also great for bathrooms but can be more expensive.
How many hours does it take to renovate a bathroom?
The duration of a bathroom renovation project depends on the bathroom size and the renovation’s extent. A simple cosmetic update like painting and replacing fixtures can take a weekend or two. However, a full bathroom renovation that involves tearing out old flooring, installing new plumbing and electrical fixtures, and tiling could take several weeks. Planning and having a realistic timeline are important to avoid frustration and unexpected delays.
How do you waterproof a bathroom floor?
Waterproofing a bathroom floor ensures that it stays protected against water and moisture buildup damage. You’ll need to use a waterproof membrane like a rubber sheet or liquid membrane to do this. First, sweep and clean the floor to remove debris and dirt. Then, apply the membrane to the floor using a brush or roller, covering all the edges and corners. Wait for the membrane to dry; once it does, you can tile over it.
How often should you redo your bathroom?
There’s no one answer to this question since it depends on factors like the age of the bathroom, the quality of the materials used, and your personal preferences. However, on average, a bathroom can last anywhere from 15 to 20 years before it needs to be renovated. If you start noticing issues like water damage, mold, or outdated fixtures and décor, it’s probably time for a renovation.
Final Words
Renovating my own bathroom was one of the best decisions I ever made for my home. There’s no better feeling than transforming a drab space into a luxurious and stylish oasis that reflects your personal taste and style. However, it’s important to remember that to renovate a bathroom safely and properly, you must take the time to plan and follow all necessary steps above. With the right tools and knowledge, you can easily transform your bathroom into the perfect haven you’ve always wanted. Good luck!