Refinishing wood furniture is an excellent way to breathe new life into your cherished pieces and give them a fresh, updated appearance. Not only does this process help maintain the longevity of your wooden furniture, but it also allows you to add a personal touch to your home décor. But do you know how to refinish wood furniture?
As someone who’s always been drawn to the charm and character of well-loved pieces, I’ve spent countless hours learning, experimenting, and perfecting the art of refinishing wood furniture.
In this guide, I’ll provide an overview of the refinishing process, equipping you with the knowledge and confidence to tackle your DIY furniture restoration project. From gathering the necessary materials to applying the final finish, we’ll cover each step to ensure your success in reviving your beloved wooden furniture.
So grab your sandpaper and brushes, and let’s embark on this fulfilling journey together as we uncover the secrets to refinishing wood furniture like a pro.

Materials Needed
Before diving into the refinishing process, having the right tools and materials is crucial. Here are the essential item and their purpose that ensure a successful refinishing project.
🛠Protective Gear: Gloves, Eyewear, and Mask
Safety should always be a top priority when working with chemicals and dust. Wearing protective gloves will prevent skin irritation from contact with harsh chemicals and stains.
Safety glasses or goggles protect your eyes from splashes, while a mask or respirator helps filter out harmful fumes and dust particles during sanding and staining.
🛠Furniture Cleaner
A good quality furniture cleaner is necessary for removing dirt, grime, and old polish from your wood furniture. Examples of effective cleaners include Murphy’s Oil Soap or a mixture of warm water and mild dish soap. A thorough cleaning ensures that the stain and finish adhere properly to the wood surface.
🛠Sandpaper (80, 120, and 220 Grit)
Sandpaper is essential for removing old finishes and smoothing out the wood surface. Start with 80-grit sandpaper to strip away the existing finish, then progress to 120-grit for a smoother surface, and finish with 220-grit for an ultra-smooth final result. Higher grit numbers indicate finer sandpaper, which creates a smoother finish.
🛠Wood Filler
Wood filler is used to repair any gouges, holes, or dents in the furniture, ensuring a smooth and even surface.
Choose a filler that matches the color of your wood, such as Elmer’s Wood Filler or Minwax High-Performance Wood Filler, to achieve a seamless appearance after staining.
🛠Paintbrushes
High-quality paintbrushes are vital if you apply stain and clear finish. Brushes with natural bristles work best for oil-based products, while synthetic bristle brushes suit water-based products. Invest in various brush sizes to accommodate different areas of your furniture piece.
🛠Wood Stain
Wood stain adds color and depth to your furniture, enhancing its natural beauty. Numerous stain options are available, such as oil-based, water-based, and gel stains, each offering different benefits and finishes. Popular brands include Minwax, Varathane, and General Finishes.
🛠Clear Finish (Polyurethane or Lacquer)
A clear finish, like polyurethane or lacquer, provides protection and durability to your refinished furniture. These finishes come in various sheens, such as matte, satin, semi-gloss, or gloss, allowing you to achieve the desired appearance.
Trusted brands include Minwax Polyurethane, Rust-Oleum Lacquer, and General Finishes Topcoat.
🛠Clean Rags
Clean, lint-free rags are essential for removing excess stains and applying some finishes. Opt for soft, absorbent materials like microfiber or cotton cloths to ensure a streak-free application.
🛠Tack Cloth
A tack cloth is a sticky cloth used to remove dust and debris from the wood surface after sanding and before applying stain or finish. This step is crucial for achieving a smooth and flawless final result.
🛠Screwdriver (For Removing Hardware)
A screwdriver is necessary for removing any hardware, such as handles, knobs, or hinges, from your furniture before refinishing. It allows for more accessible and thorough cleaning, sanding, and staining and prevents damage to the hardware during the process.
Preparing the Workspace
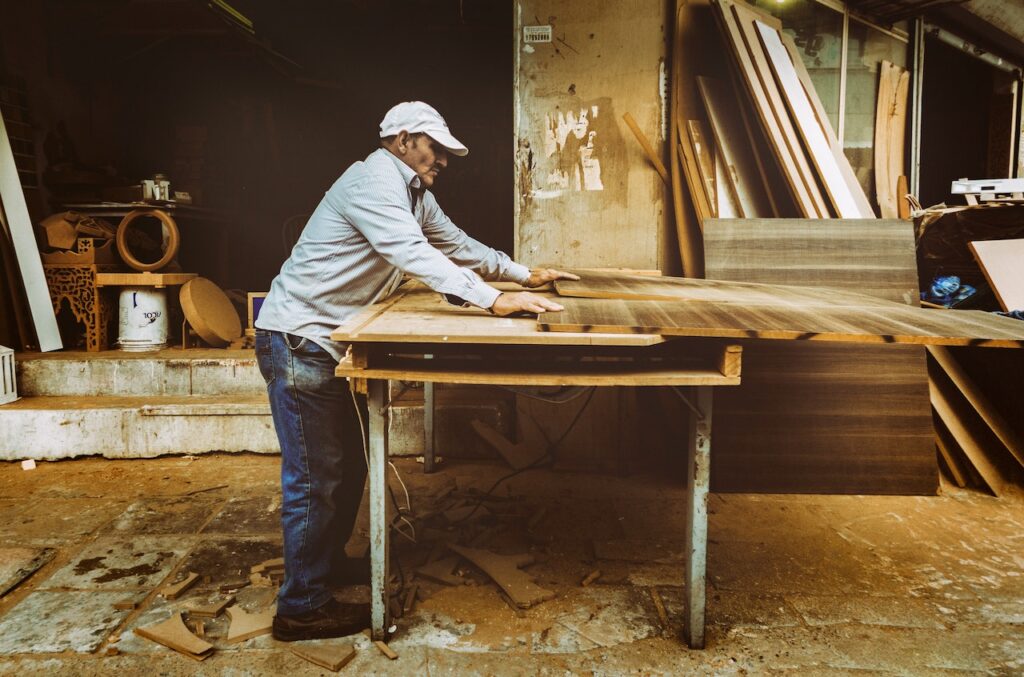
A well-prepared workspace is crucial for a successful refinishing project. To begin, choose a well-ventilated area to work in, such as a garage or an outdoor space. Proper ventilation helps to dissipate fumes and dust, making the process safer and more comfortable.
If working outdoors, ensure that the weather is suitable. Avoid extreme temperatures or damp conditions, which can affect the drying and curing of stains and finish.
Next, protect your work surface by laying down a tarp or drop cloth. It will catch spills, drips, and dust, making cleanup a breeze. Additionally, having a designated area for keeping your tools and materials organized and within easy reach is helpful. This way, you won’t waste time searching for that elusive paintbrush or sandpaper when needed.
Consider setting up adequate lighting to help you see every project detail. Proper lighting is essential for spotting any imperfections or areas that need extra attention during the refinishing process.
Cleaning the Furniture
Before diving into the nitty-gritty of refinishing, starting with a clean slate is essential. Begin by removing any hardware from your furniture, such as handles, knobs, or hinges. Set them aside in a safe place, or if they’re looking a little worse for wear, consider replacing them with new pieces to complement your refinished furniture.
Next, thoroughly clean your furniture to remove dirt, grime, and any old polish. A good-quality furniture cleaner, such as Murphy’s Oil Soap or a mixture of warm water and mild dish soap, works well for this task.
Use a soft cloth or sponge to scrub every nook and cranny, paying close attention to carved details or grooves where dirt can accumulate. A gentle scrubbing pad can be helpful for stubborn stains or sticky residue.
Once your furniture is squeaky clean, allow it to dry completely before moving on to the next step. Drying time may vary depending on humidity and temperature, so be patient and give your piece ample time to air dry.
Remember, starting with a clean and dry surface will set you up for success as you move forward in refinishing.
Sanding the Surface
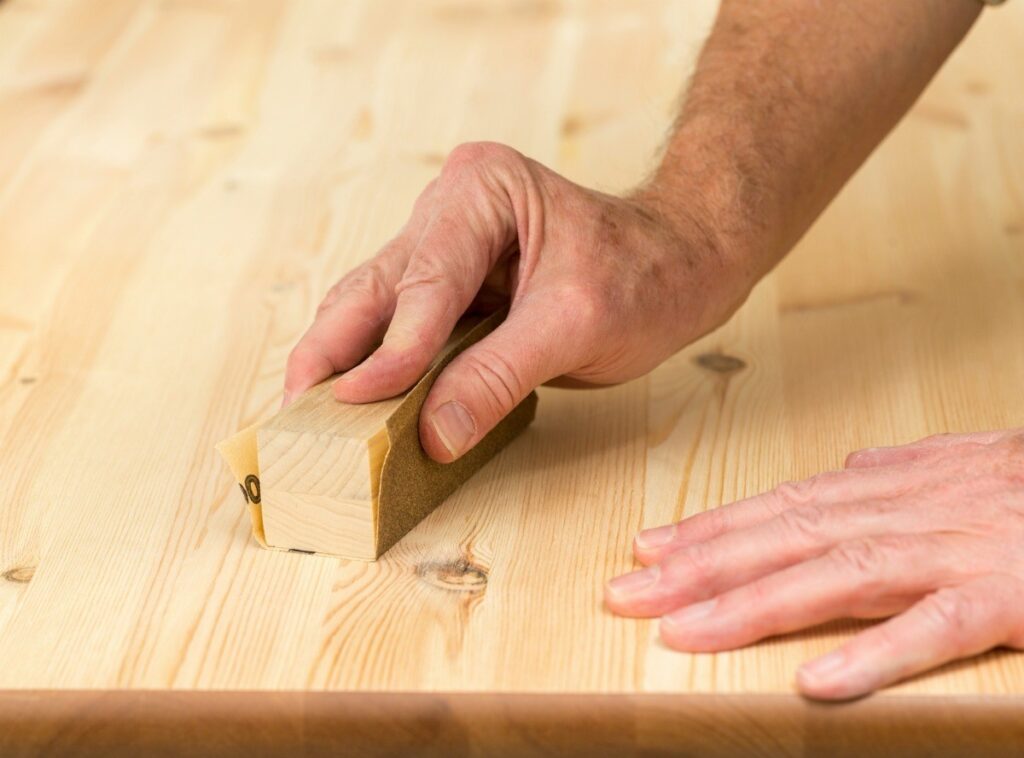
Sanding is a critical step in refinishing, as it removes the old finish and prepares the wood for staining. It’s essential to be patient and thorough during this stage, as any imperfections left behind can affect the final result.
Equip yourself with three different grits of sandpaper: 80, 120, and 220. Begin with the 80-grit sandpaper, which is coarse enough to strip away the existing finish and any surface imperfections. Remember to always sand in the direction of the wood grain to prevent scratches or uneven surfaces.
Take your time, and don’t be afraid to use a little elbow grease. This initial sanding is crucial for creating a smooth foundation for the rest of the project.
Once you’ve removed the old finish and addressed any significant blemishes, switch to the 120-grit sandpaper. This medium-grit sandpaper will help smooth the surface further, removing any lingering roughness. Finally, finish with the 220-grit sandpaper, creating an ultra-smooth surface ready for staining. As you progress through the grits, remember to wipe down the furniture with a tack cloth to remove dust and debris.
Repairing Damages
Now that your furniture is sanded and smooth, it’s time to address any remaining damages, such as gouges, holes, or dents. You’ll need a wood filler that matches the color of your wood, like Elmer’s Wood Filler or Minwax High-Performance Wood Filler.
Begin by applying the wood filler to the damaged area using a putty knife or your finger (wearing a glove, of course!). Be sure to fill the entire void, slightly overfilling it to account for any shrinkage as the filler dries. Follow the manufacturer’s instructions for drying time, which can vary depending on the product.
Once the filler is dry, sand the repaired area with 220-grit sandpaper to create a seamless surface. Wipe the area with a tack cloth to remove any dust before moving on to staining.
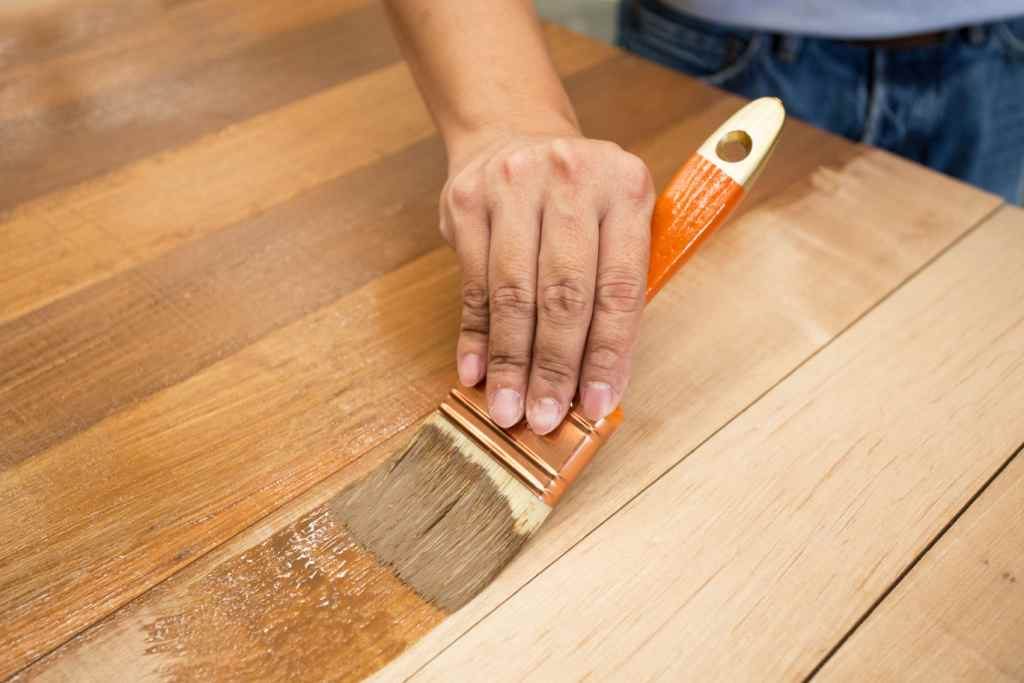
Applying the Stain
With your furniture sanded and repaired, it’s time for the exciting part which is applying the stain. Wood stain adds color and depth to your piece, enhancing its natural beauty and bringing out the wood grain. Numerous stain options are available, such as oil-based, water-based, and gel stains, so choose one that suits your preferences and the desired look for your furniture.
Before you begin, test the stain on an inconspicuous area or a scrap piece of the same wood to ensure you’re happy with the color. Once satisfied, put on your gloves and grab a clean rag or brush to apply the stain.
Working in sections, apply the stain evenly toward the wood grain. Allow the stain to penetrate the wood for the recommended time on the label (usually around 5-15 minutes), then wipe off any excess with a clean rag. The longer the stain sits, the darker the color will be, so adjust the time accordingly to achieve your desired shade.
You can apply additional clear coats of stain for a darker or richer color, allowing each coat to dry according to the manufacturer’s instructions before applying the next. Remember to be patient and give the stain ample time to dry, as rushing this step can lead to a blotchy or uneven finish.
How to Refinish Wood Furniture: Applying the Finish
Once your stain has dried completely, it’s time to apply a clear finish to protect your furniture and enhance its appearance. Popular options include polyurethane and lacquer, which offer durability and varying sheen levels, such as matte, satin, semi-gloss, or gloss.
Before applying the finish, ensure that your workspace is free of dust and debris, as these can mar the final result. Use a tack cloth to wipe down the furniture, then grab a high-quality paintbrush to begin the application process.
Apply the finish in thin, even coats, following the direction of the wood grain to minimize brush strokes. Be patient and take your time. Rushing this step can lead to a streaky or uneven finish.
Allow each coat to dry according to the manufacturer’s instructions before lightly sanding with 220-grit sandpaper and wiping clean with a tack cloth. This light sanding between coats helps create a smooth finish and promotes better adhesion for subsequent coats.
Apply at least two to three coats of finish for optimal protection and appearance, allowing each coat to dry thoroughly before moving on. Once you’ve applied the final coat, let the finish cure according to the manufacturer’s recommendations. Depending on the product, it can range from a few hours to several days.
Reassembling the Furniture
With your furniture now beautifully refinished, it’s time for the final step: reassembling and admiring your handiwork! Begin by reattaching any hardware that you removed before starting the project. If you purchase new hardware, be sure that it matches the style and size of your furniture.
Carefully move your refinished piece to its desired location within your home, taking care not to scratch or damage the fresh finish. If necessary, enlist the help of a friend or family member to make the move easier and safer.
Once your furniture is in place, step back and admire the transformation. Your hard work and attention to detail have paid off, breathing new life into a once-neglected piece. Congratulations! You’ve successfully refinished your wood furniture, adding a personal touch and a renewed sense of beauty to your living space!
Frequently Asked Questions
Q: How long does it take to do furniture refinishing?
A: Refinishing furniture can be a gratifying and cost-effective way to give your home a new look. The entire process can take anywhere from a few days to a week. But exactly how long it takes to refinish furniture varies on several different factors.
For instance, the size of the furniture item matters when it comes to how long it will take to refinish it. The overall condition of the furniture, the type of wood stain being used, and the intricacy of the design all affect the time it takes to complete the project.
Q: Can I refinish the veneer furniture?
A: Yes, but be cautious when sanding veneer as it’s thin and can be easily damaged. Veneer is a thin layer of wood glued to a less expensive wood composite or solid wood base. Therefore, the process of refinishing veneered furniture will depend on the veneer’s thickness and the base material’s condition. Use a lighter touch and higher grit sandpaper.
With proper preparation, sanding, and staining, you can restore the natural beauty of the veneer and create a long-lasting wood finish that will make your furniture look brand new.
Q: How to refinish wood furniture and what’s the best finish to use?
A: Polyurethane and lacquer are popular for their durability and ease of application. Choose a finish based on your desired sheen and level of protection. Satin and semi-gloss are popular choices because they provide an attractive sheen while allowing the woodgrain to show through.
Opt for a higher gloss finish, such as high-gloss or ultra-gloss, for added protection. And if you’re looking for something more natural, consider a wax or oil finish that can give your furniture a beautiful luster and protection without hiding the woodgrain.
Q: Can I paint instead of stain my wood furniture?
A: Absolutely! Painting is a great way to give your furniture a fresh update and can be an easier option for those new to refinishing. However, painting does not provide the same level of protection as staining because paint creates a layer over the raw wood, while stain allows the natural beauty of the woodgrain to show through. Before you begin painting, properly prepare the furniture by sanding and priming. It will help ensure that your paint adheres well and lasts longer.
Final Thoughts
In conclusion, refinishing wood furniture is a rewarding and transformative process that allows you to restore and rejuvenate your beloved pieces. Following the steps outlined in this guide, including preparing the workspace, cleaning and sanding the furniture, repairing damages, applying stain, and sealing with a clear finish, you can breathe new life into your wooden treasures.
As you admire your beautifully restored furniture, take pride in the time, effort, and creativity you’ve invested in this project. Your accomplishment not only enhances the aesthetics of your home but also demonstrates the power of DIY endeavors.
So, roll up your sleeves, gather your tools, and embrace the satisfaction of reviving the beauty hidden within your wood furniture. Trust me, with every stroke of sandpaper and brush, you will create memories and stories that will become an integral part of your home’s history. Share in the comments below the joy you felt when seeing your restored furniture for the first time.

